Green Moong Dal Pakora
Green Moong Dal Pakora
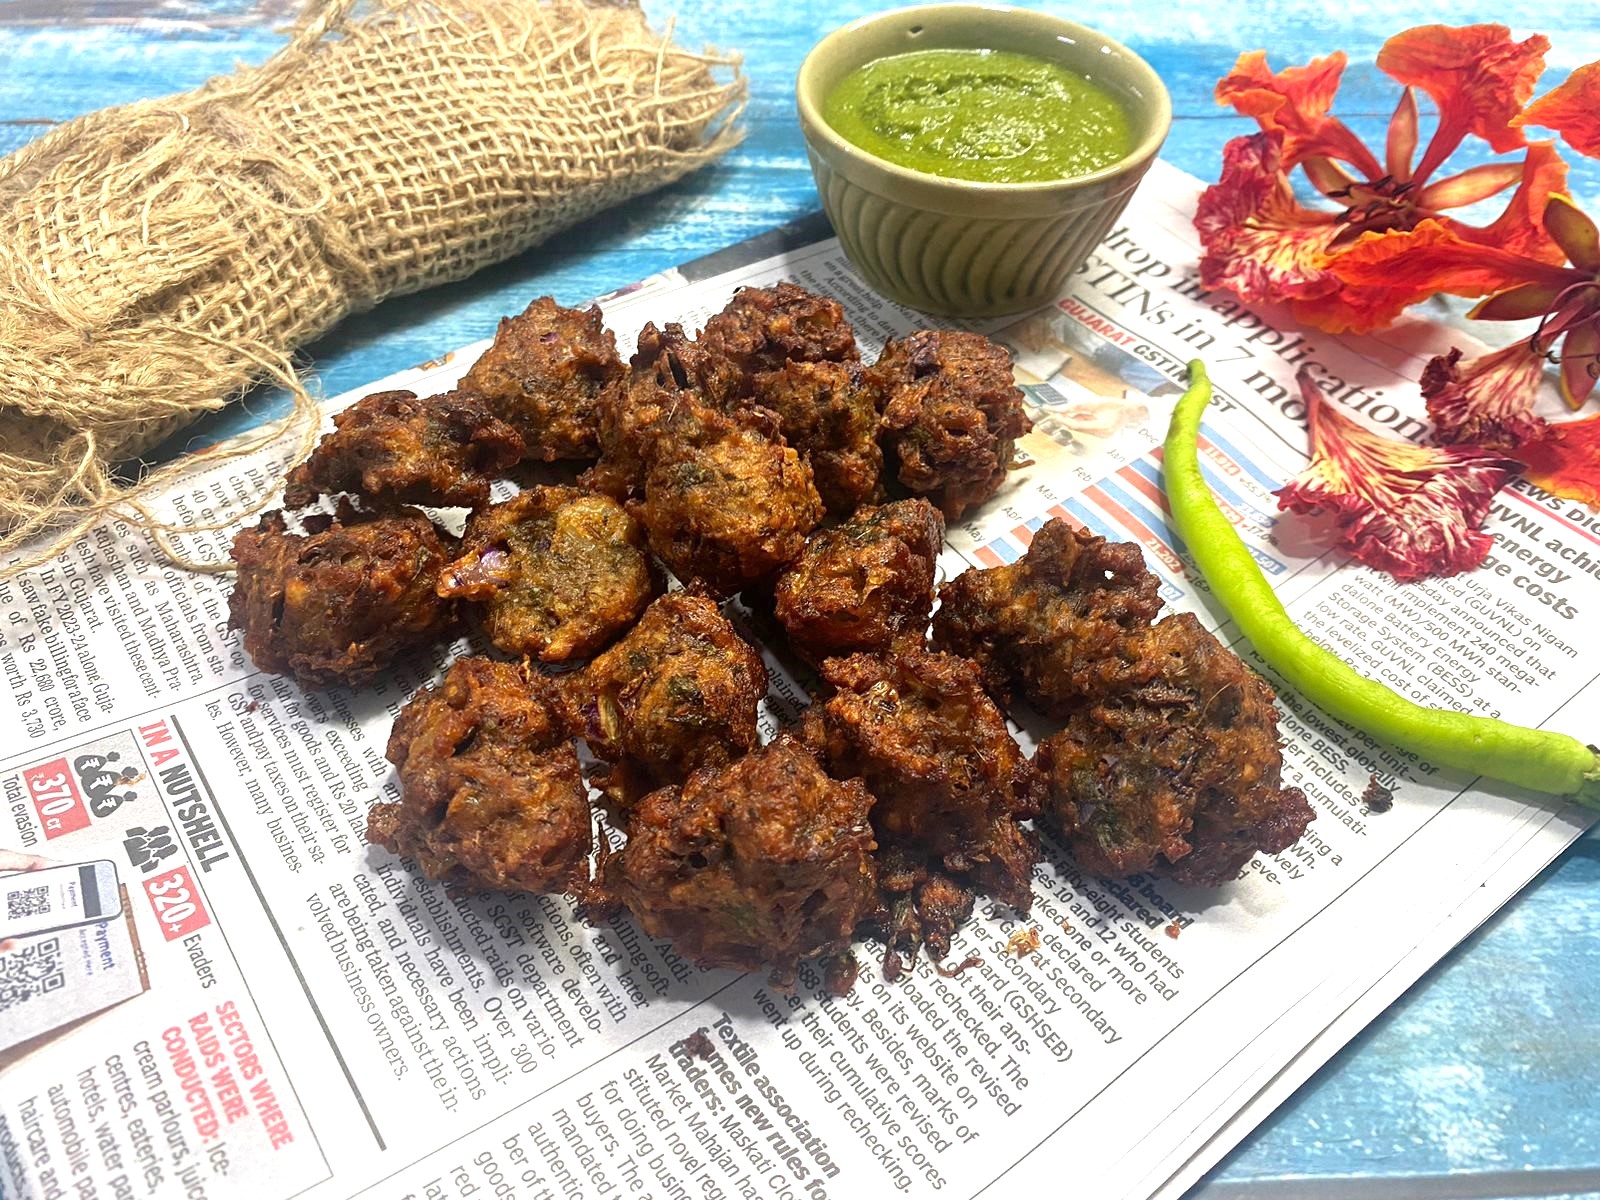
Green Moong Dal Pakora, or Moong Dal Bhajiya, are crispy, deep-fried fritters made from split green gram lentils, vegetables, and spices. These pakoras, popular as street food and tea-time snacks in India, especially Mumbai, have a rich history in Indian cuisine.
Using moong dal in cooking dates back centuries due to its nutritional value and versatility. The simple recipe involves common ingredients and is considered healthy because of the added vegetables. Originating in the Indian subcontinent, pakoras are made by coating ingredients in spiced batter and deep-frying them.
Green Moong Dal Pakora is a variation using moong dal known for its health benefits and digestibility. Vegetables and spices enhance flavor and nutrition, making these fritters a popular quick snack.
Packed with proteins, vitamins, and minerals, they pair perfectly with a hot cup of chai, especially during rain or as an evening snack. Moong dal provides plant-based protein essential for muscle repair and growth, while vegetables offer vitamins A and C, potassium, and iron. Both contribute dietary fiber aiding digestion and satiety.
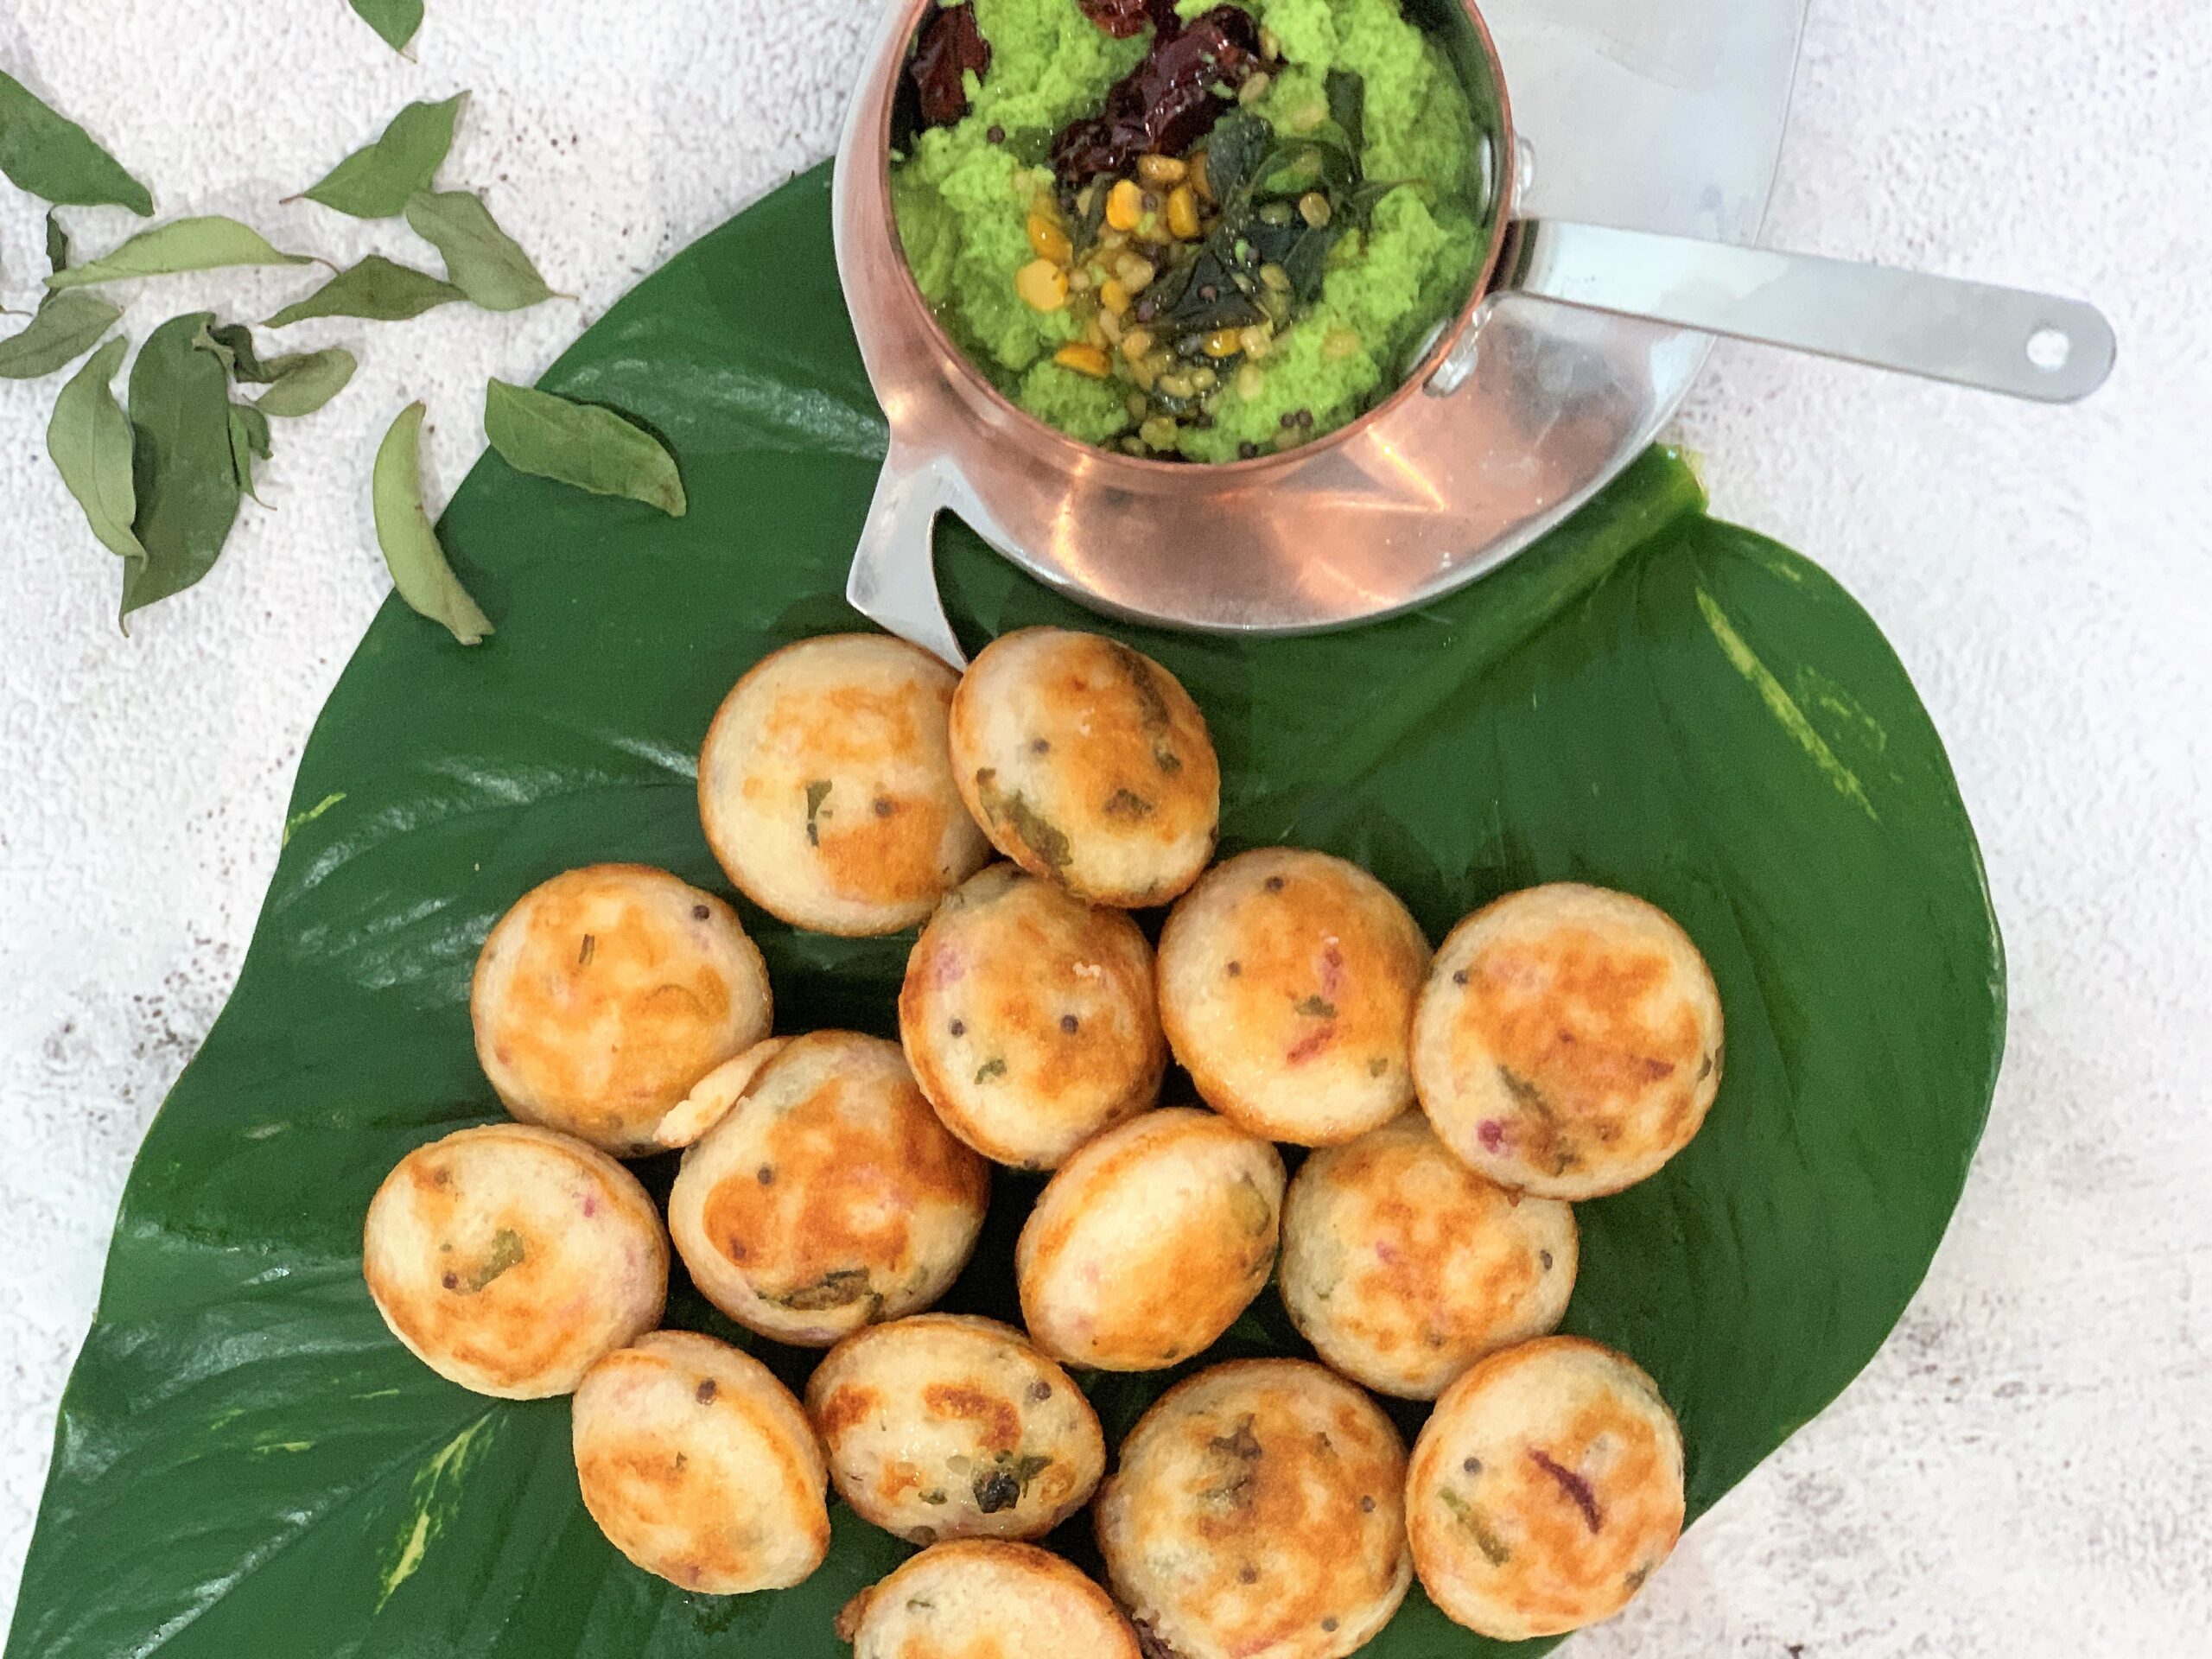
Enjoy Green Moong Dal Pakoras hot and fresh with mint or tamarind chutney.
Other recipes you might like to enjoy are
Ingredients
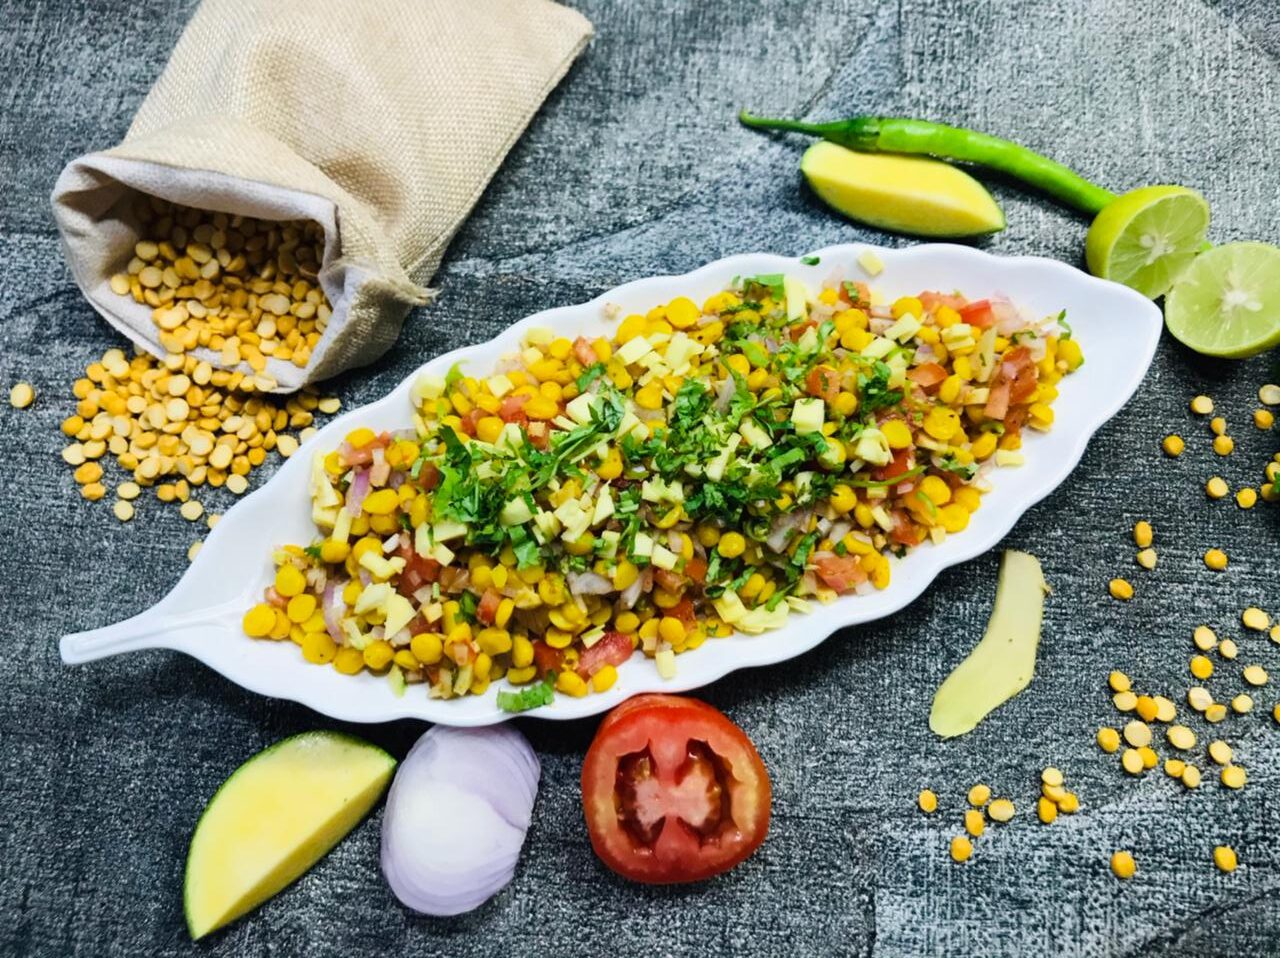
1 cup split green gram (chilka moong dal)
6-7 green chillies
1 inch ginger piece
2 teaspoons cumin seeds
½ teaspoon asafoetida
1 cup finely chopped red cabbage
1 cup finely chopped onions
2 tablespoons coriander leaves
Salt to taste
2 teaspoons red chilli powder
2 tablespoons rice flour
2 tablespoons gram flour
¼ teaspoon baking soda
Oil for deep frying
Directions
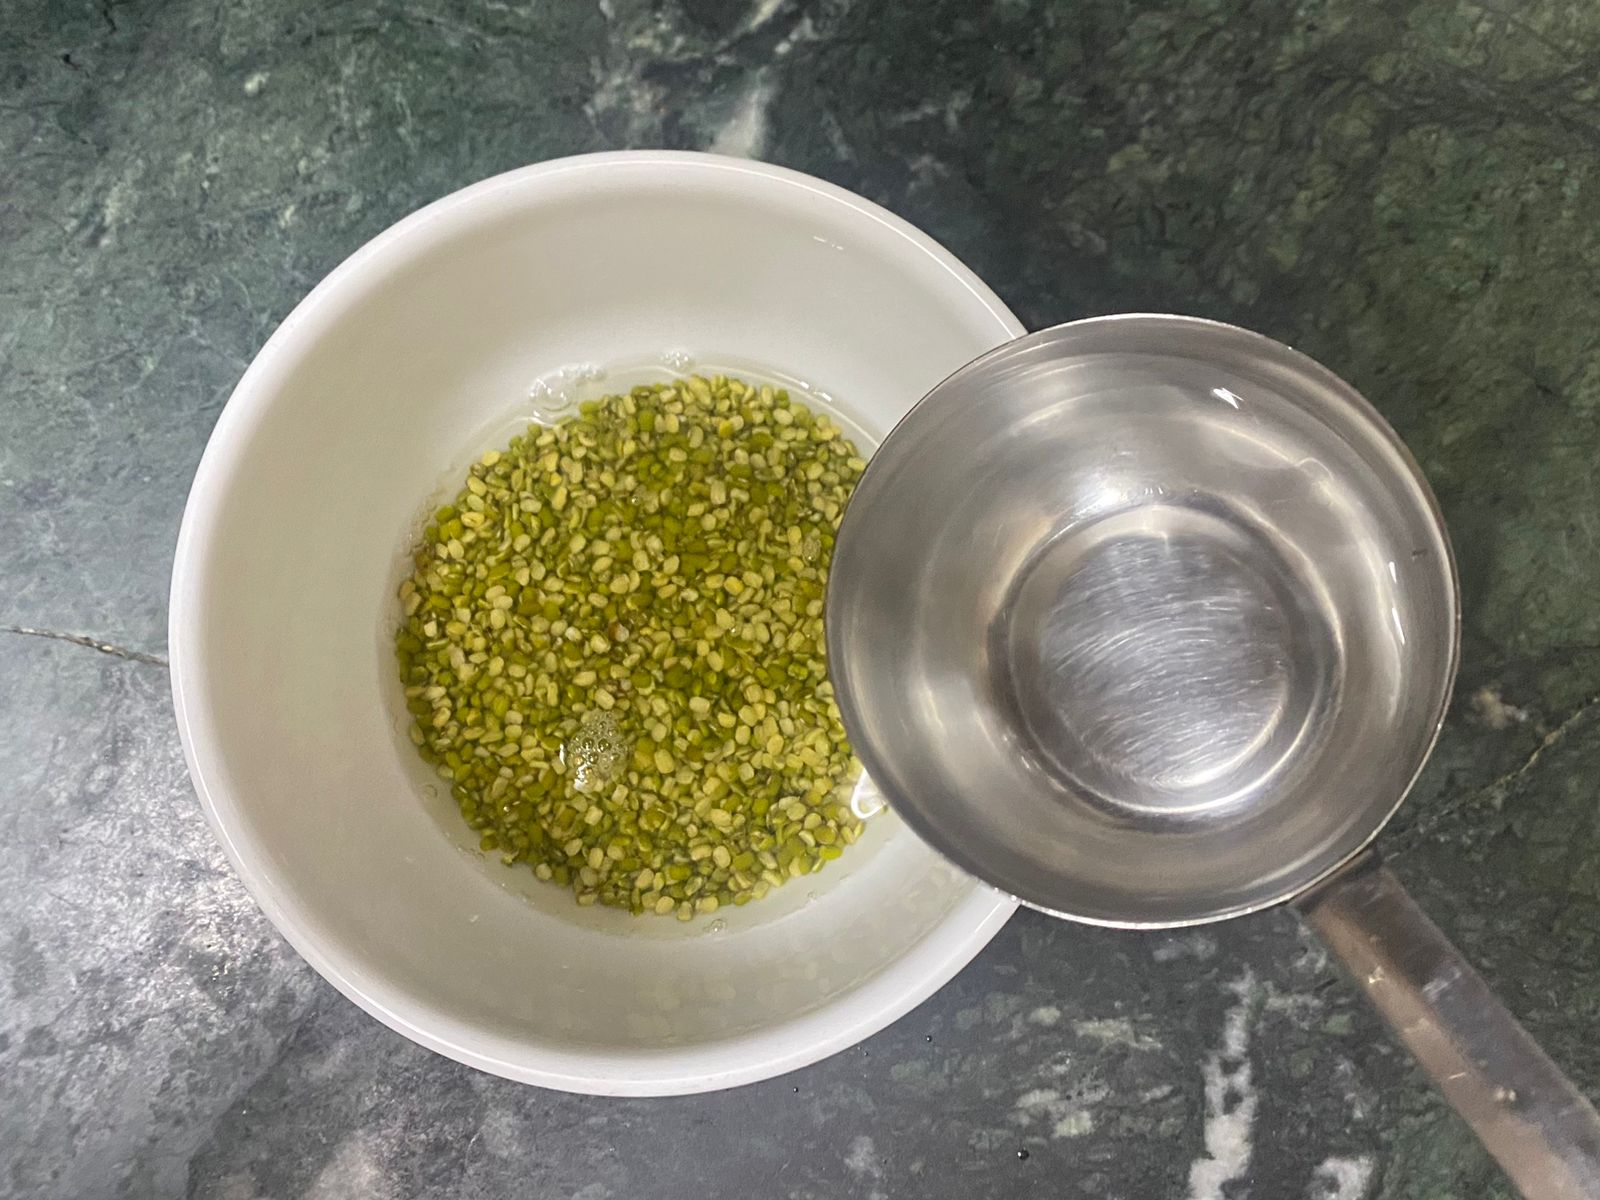
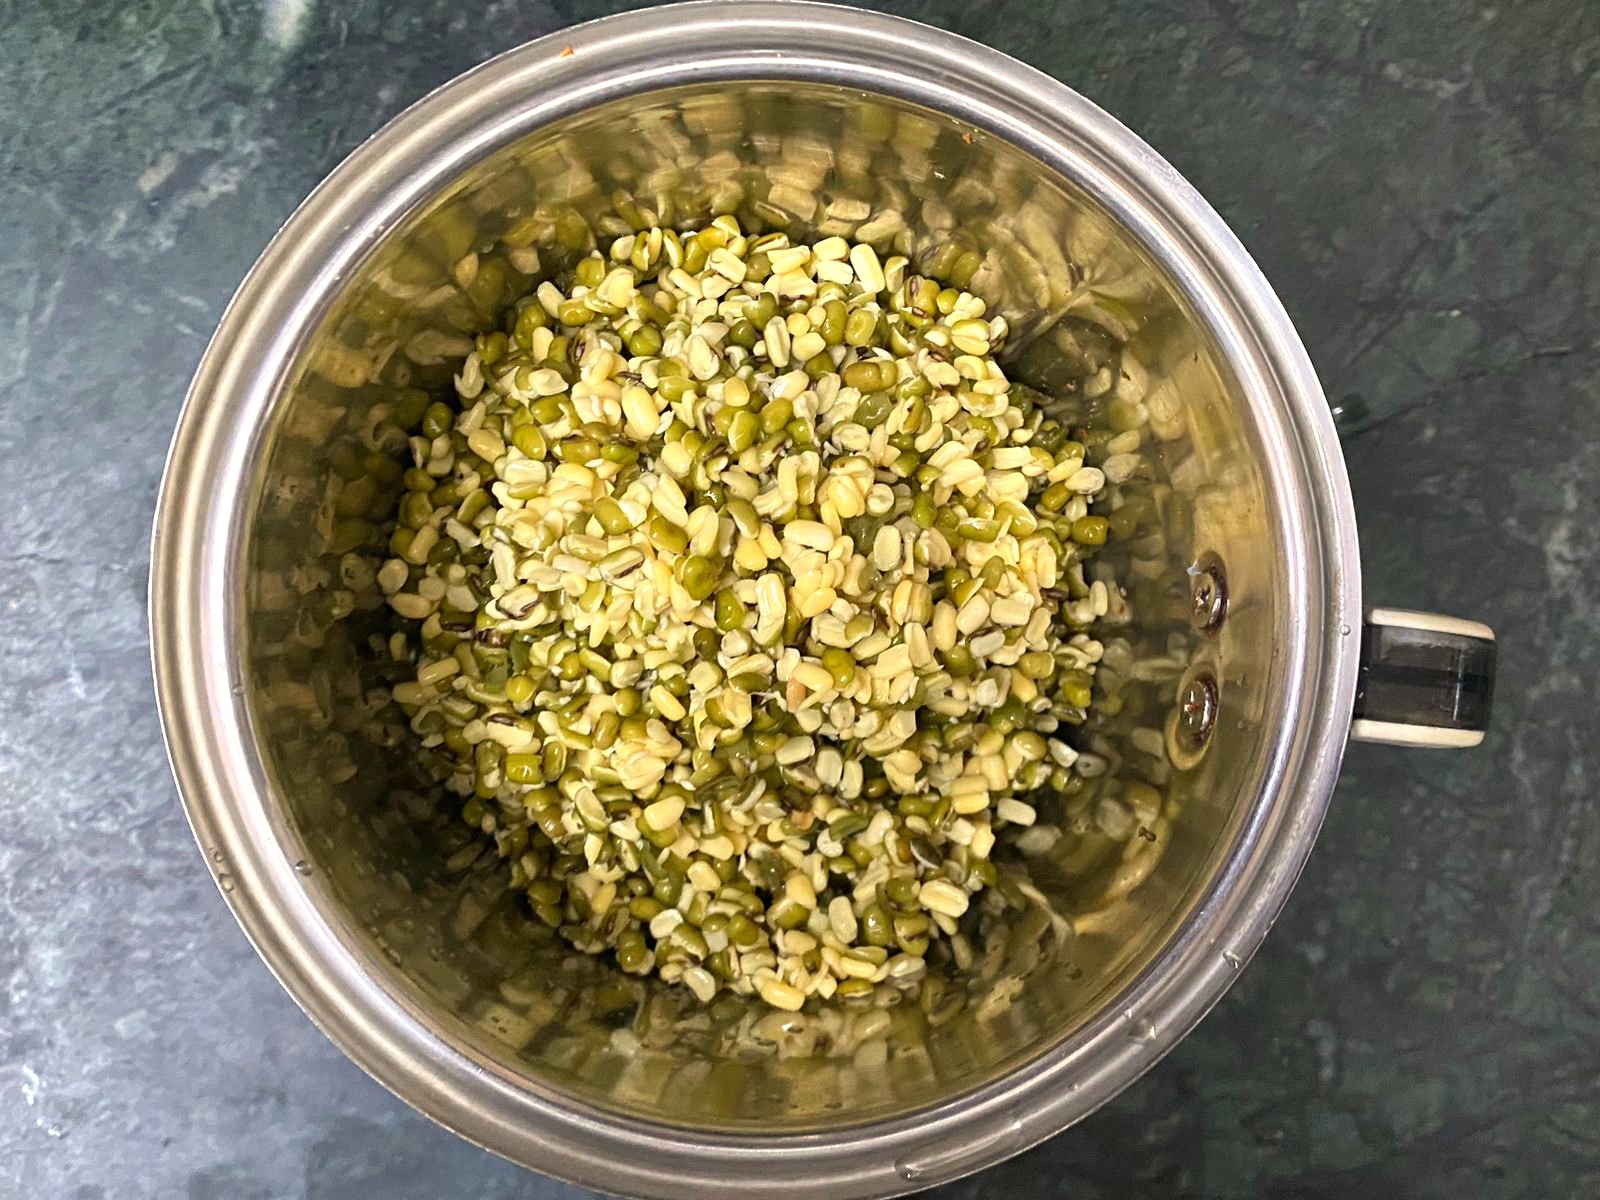

Rinse the dal under running water until it is clean. Soak the dal in 4 cups of water for approximately 3 to 4 hours.
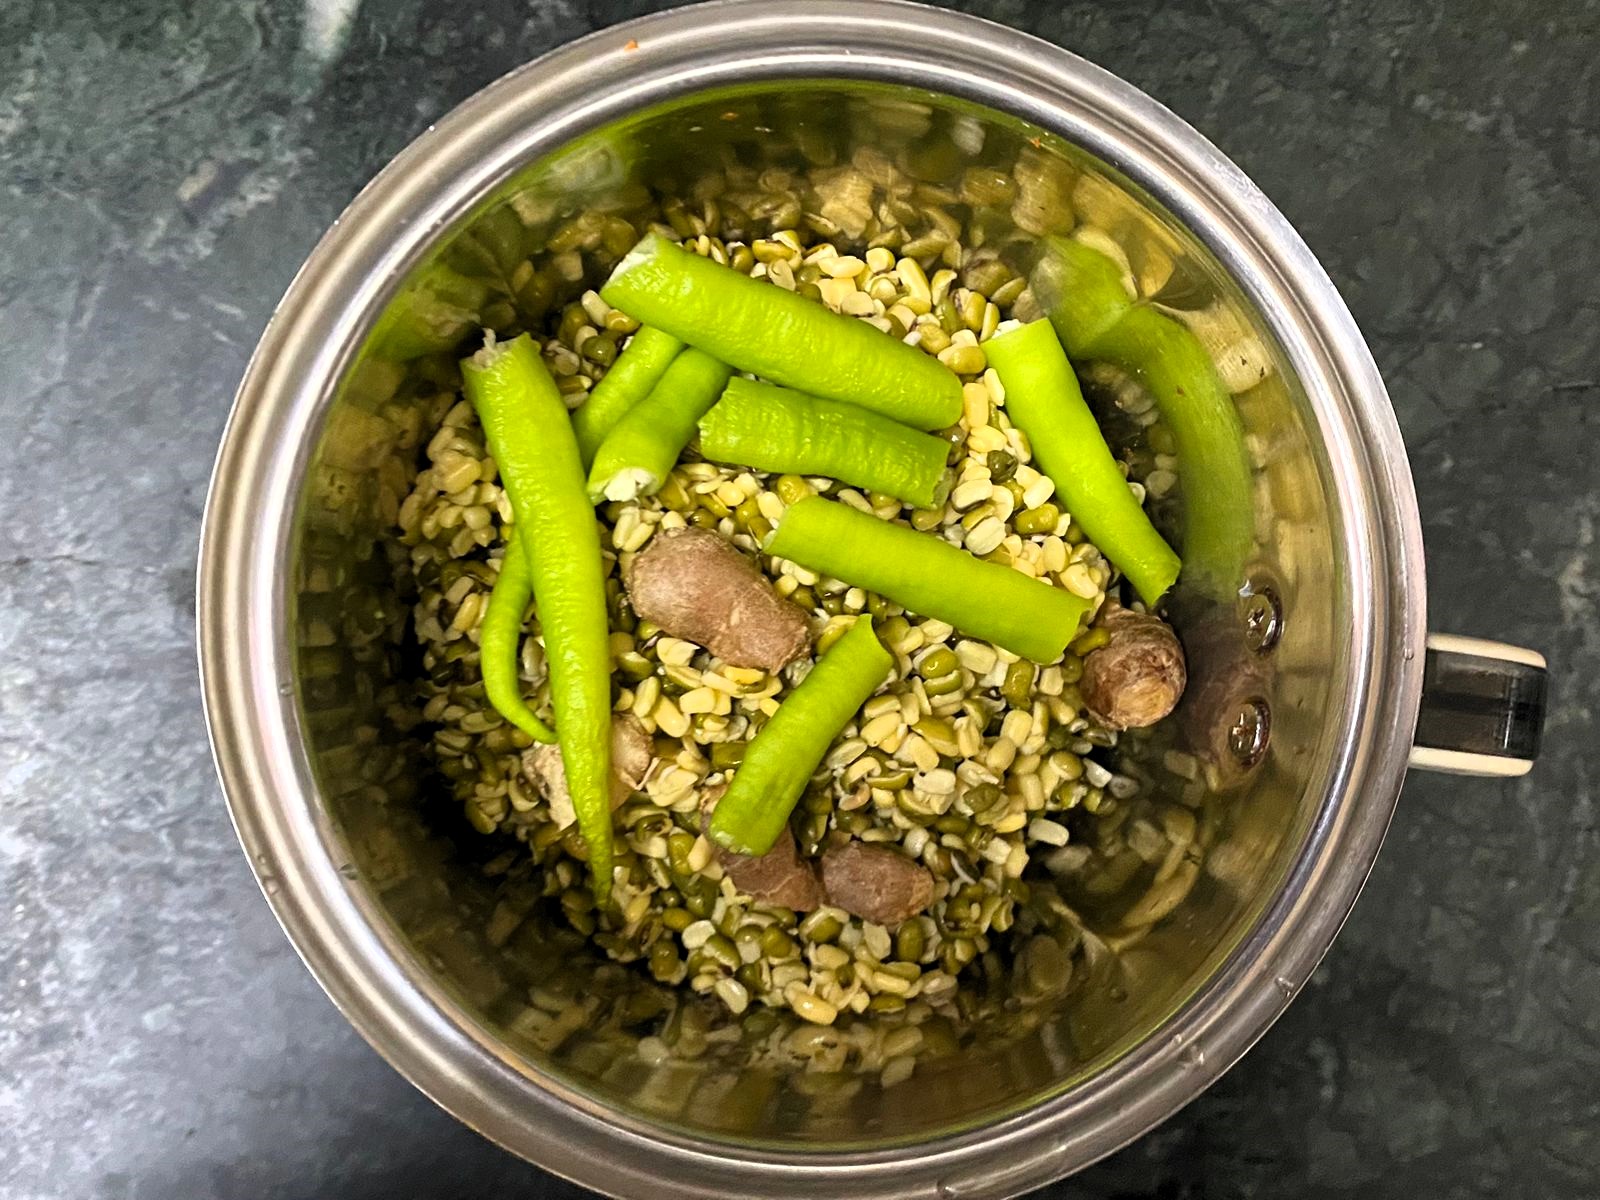
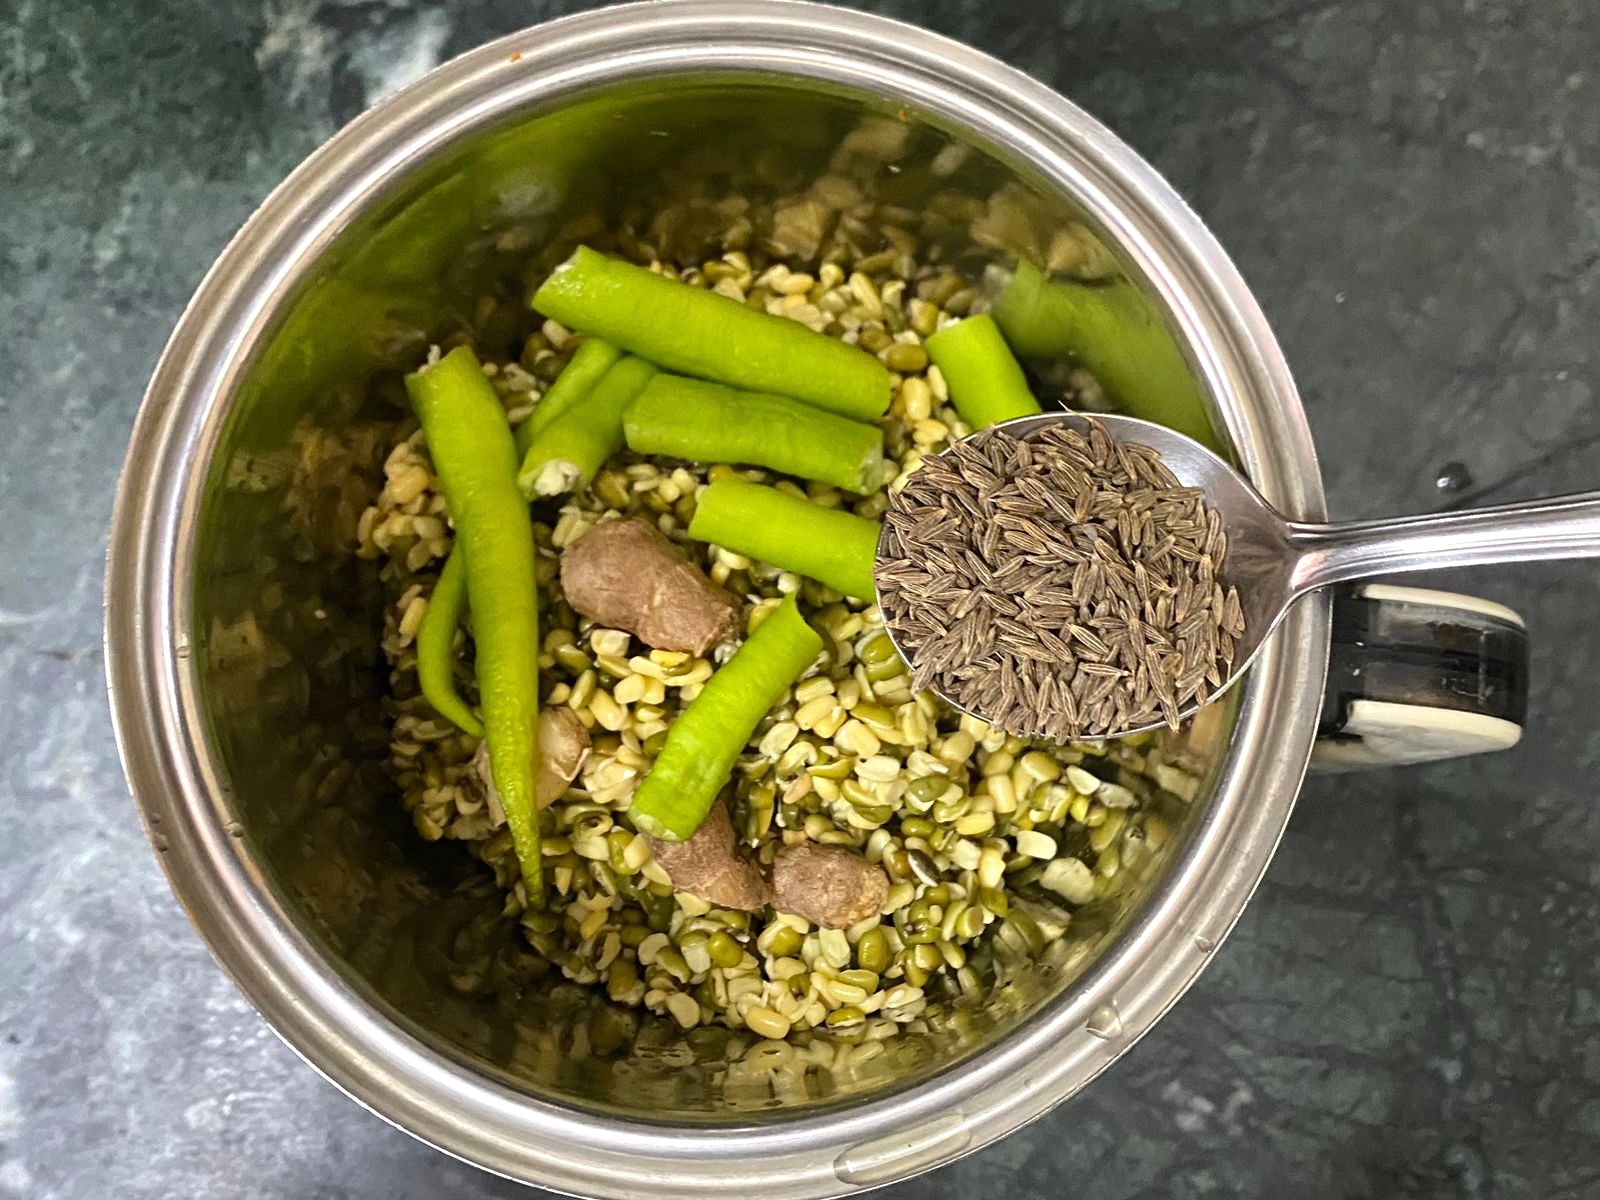
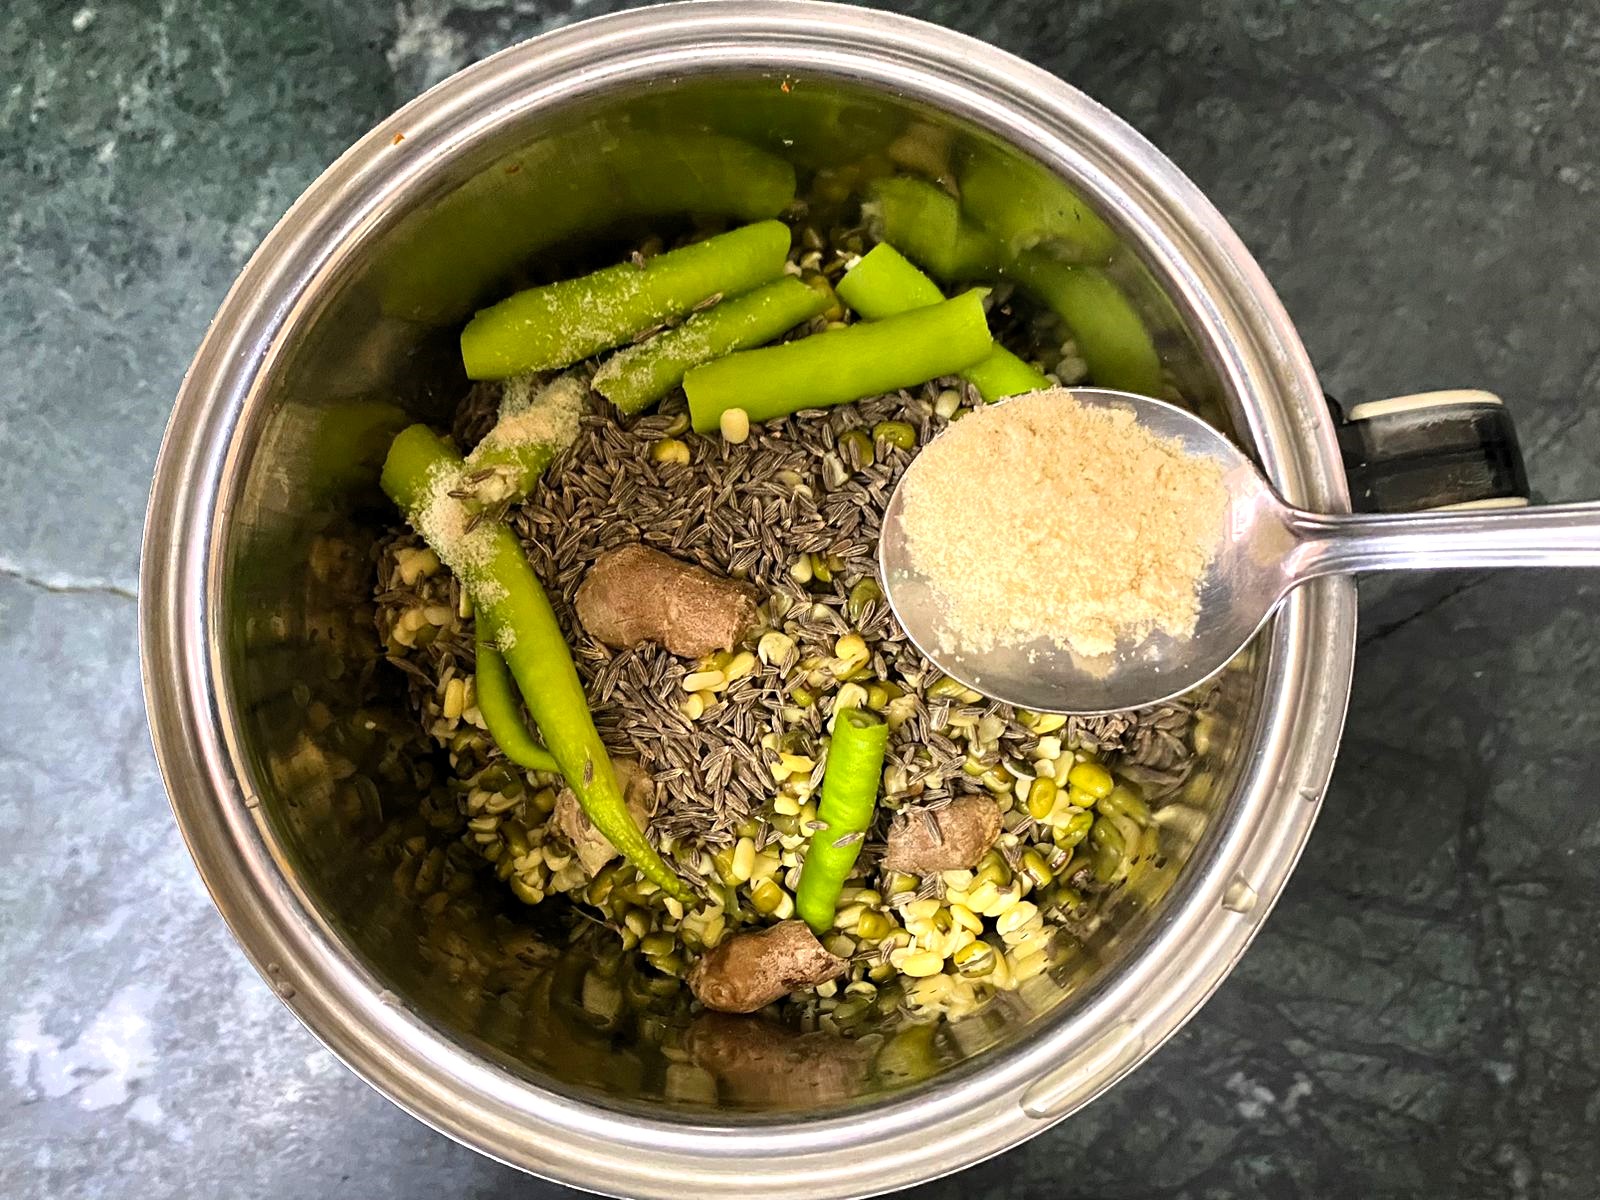
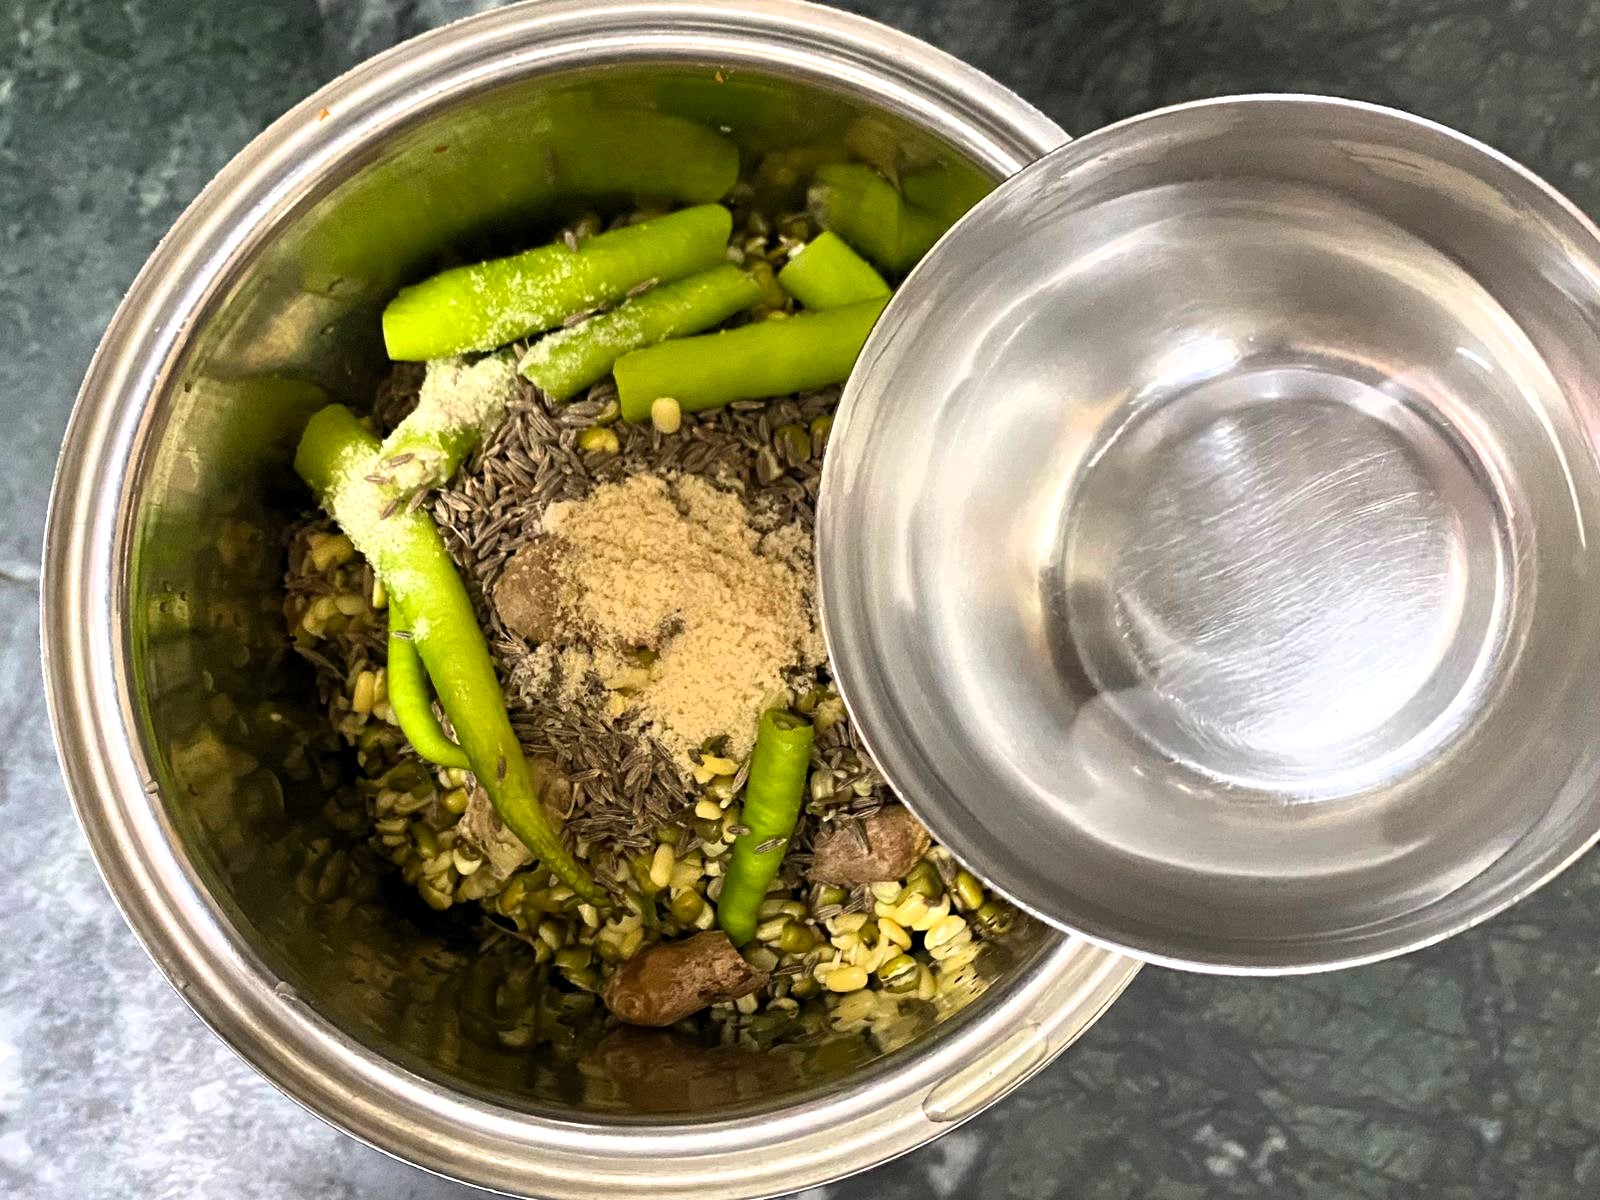
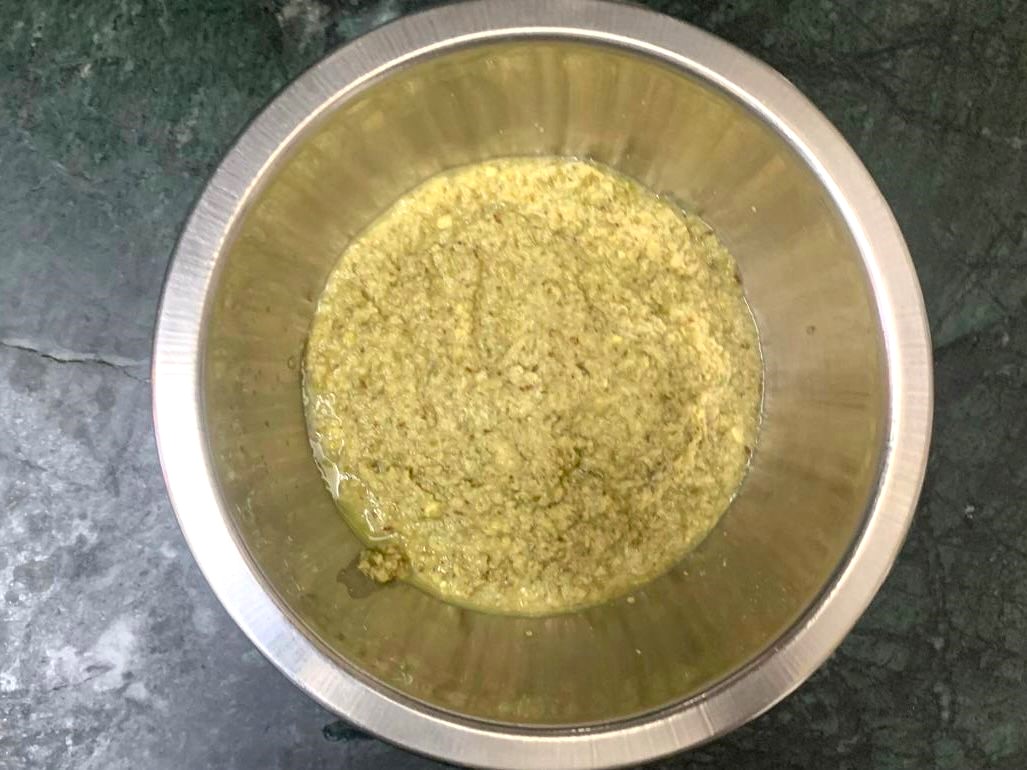
After 2-3 hours, strain the dal and place it in the grinding jar. Add green chillies, ginger, cumin seeds, asafoetida, and 2 tablespoons of water. Grind into a thick, coarse paste (avoid adding too much water to keep the batter thick).
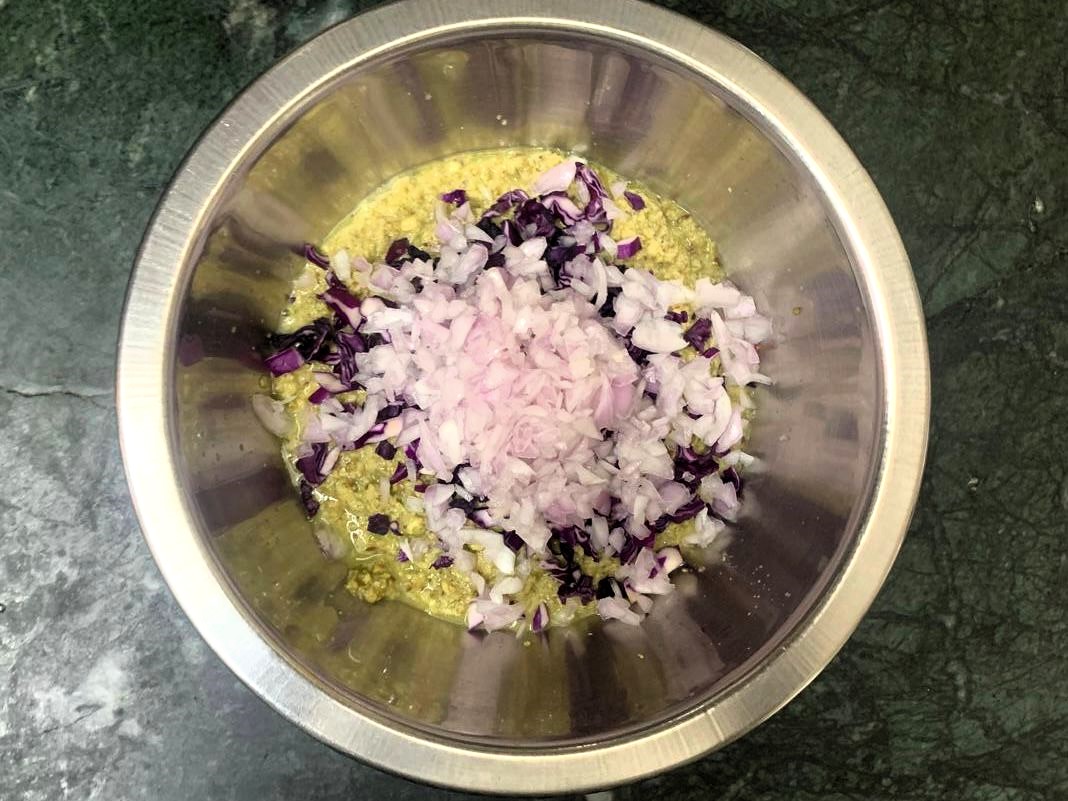
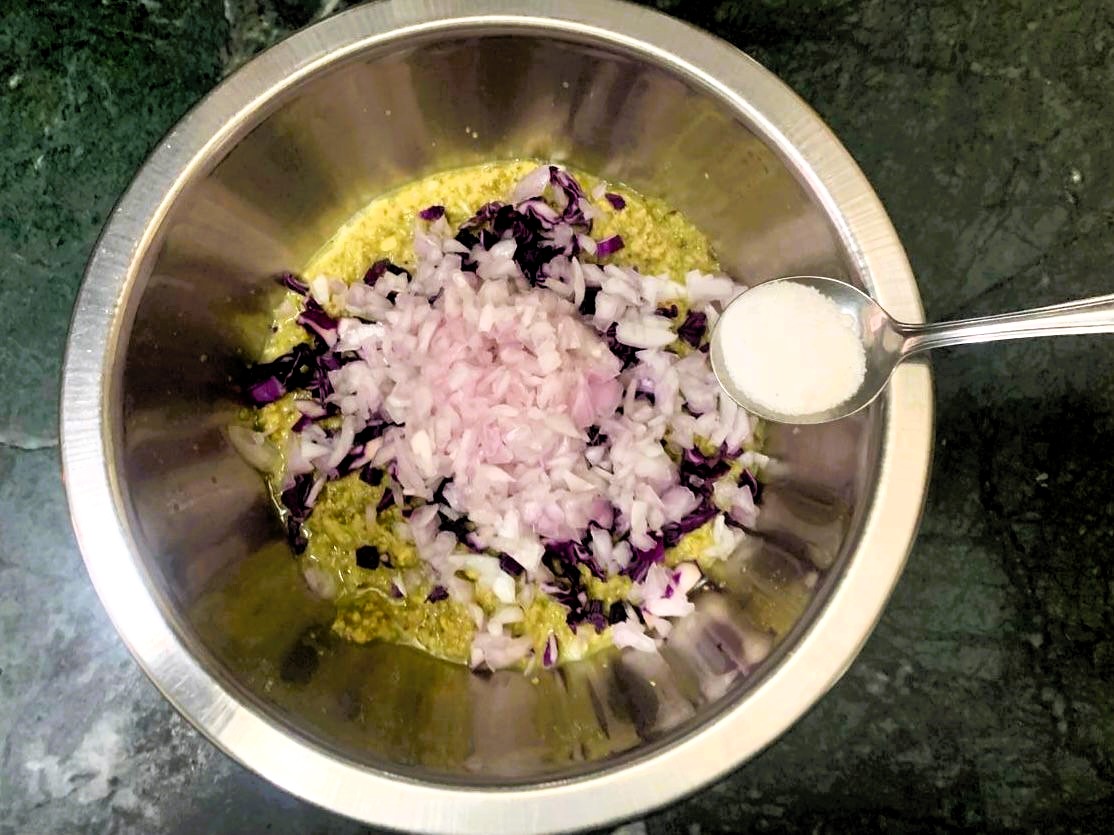
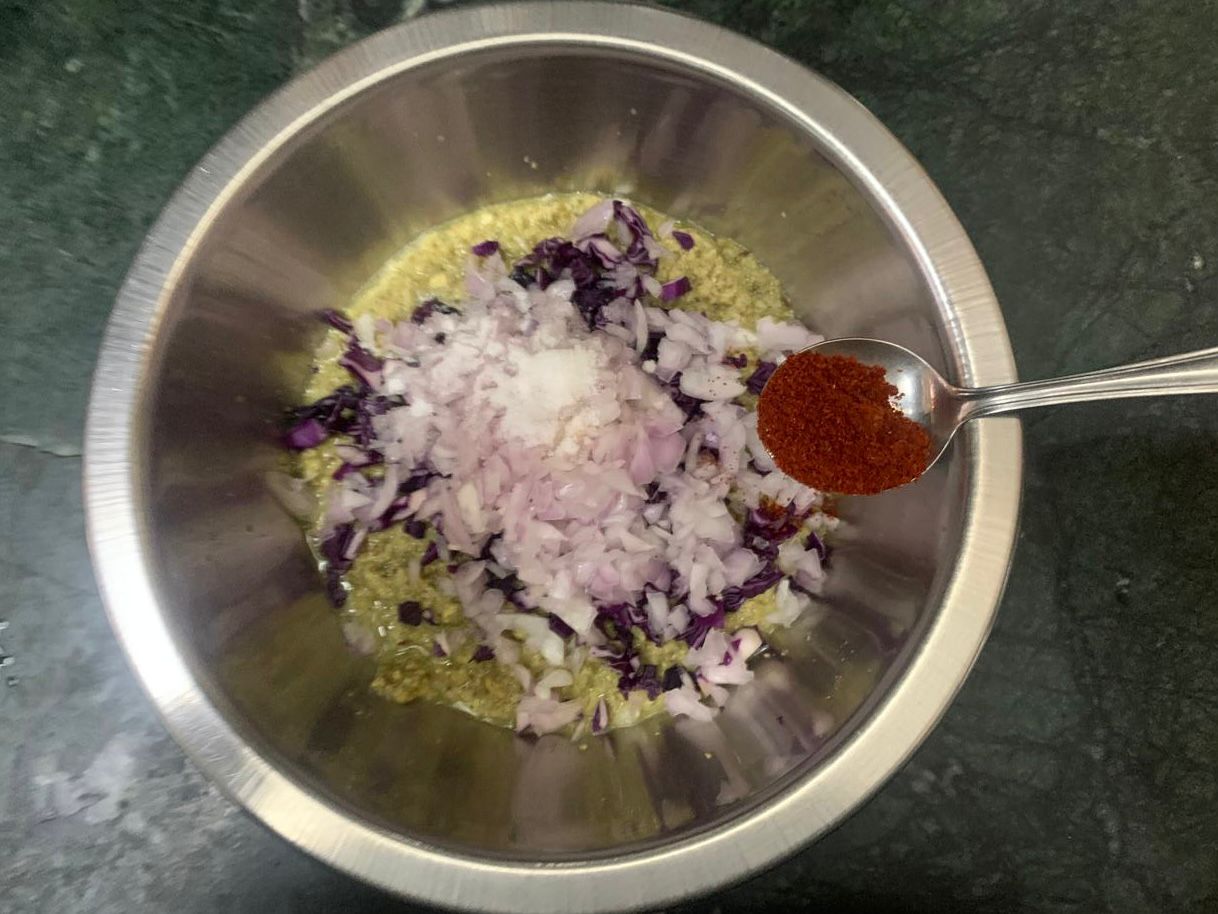
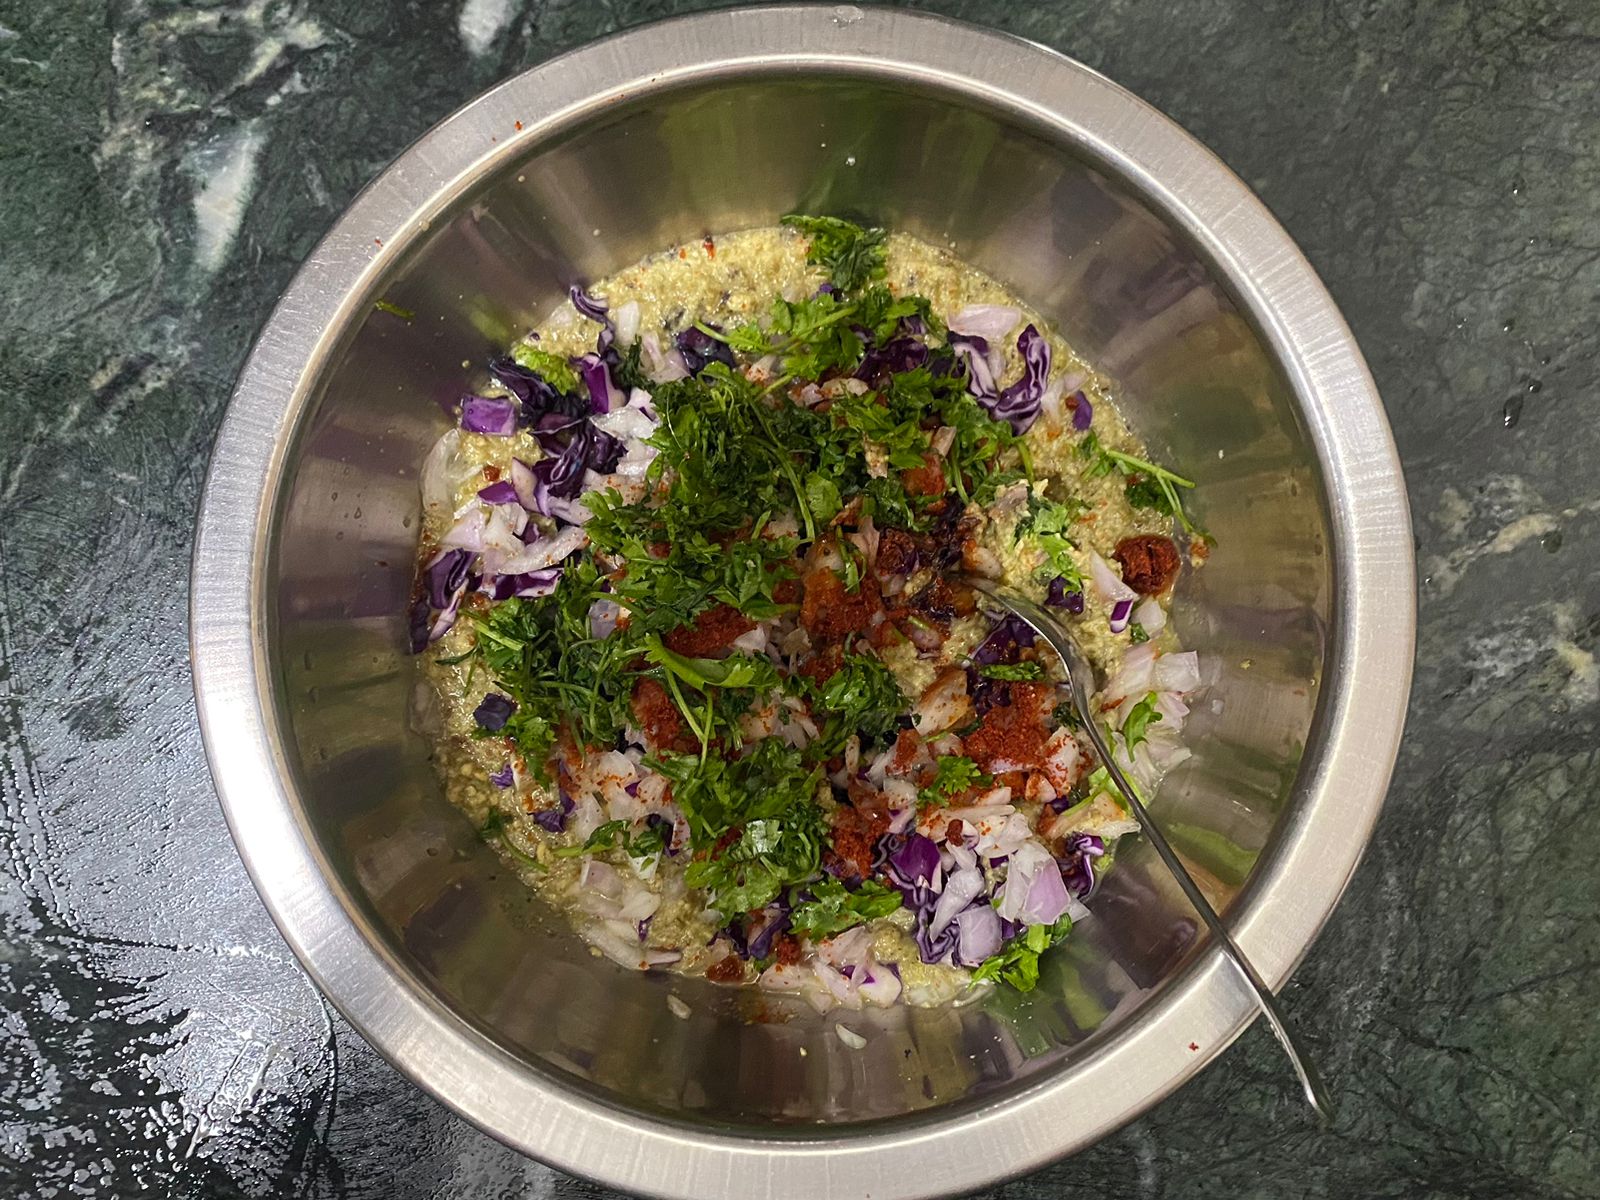
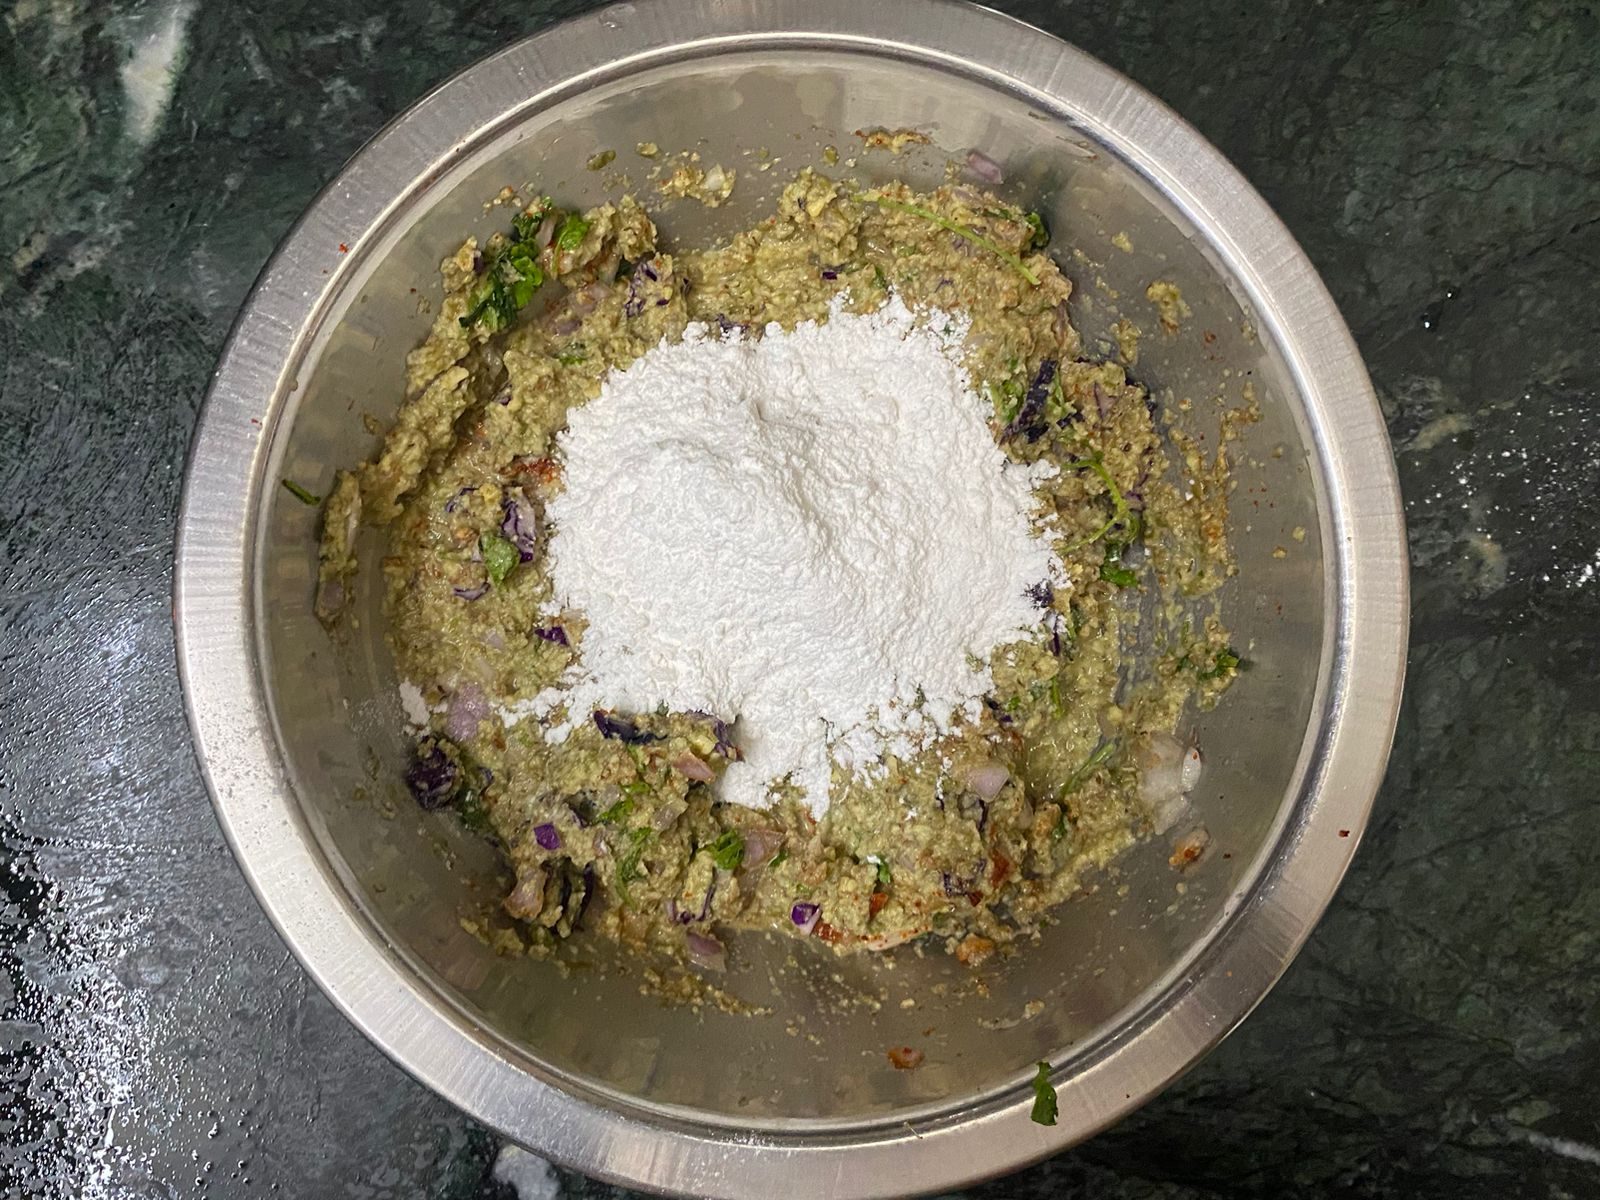
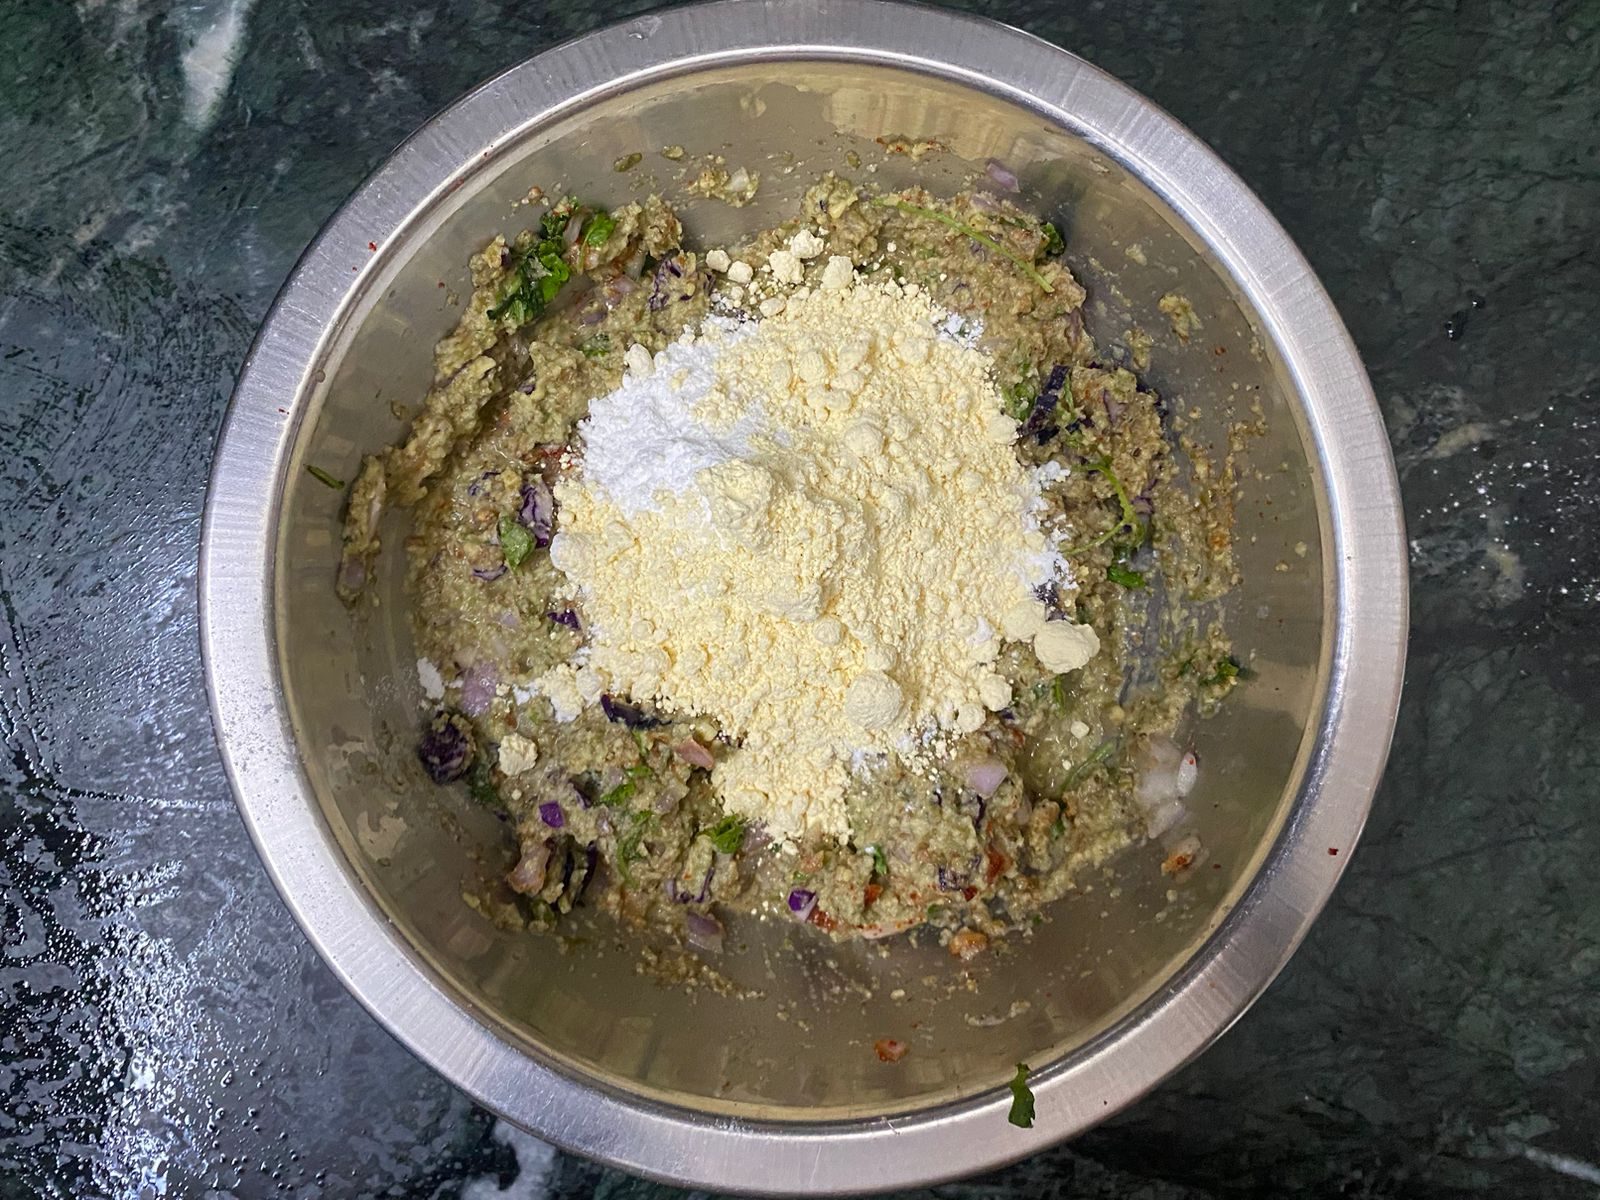
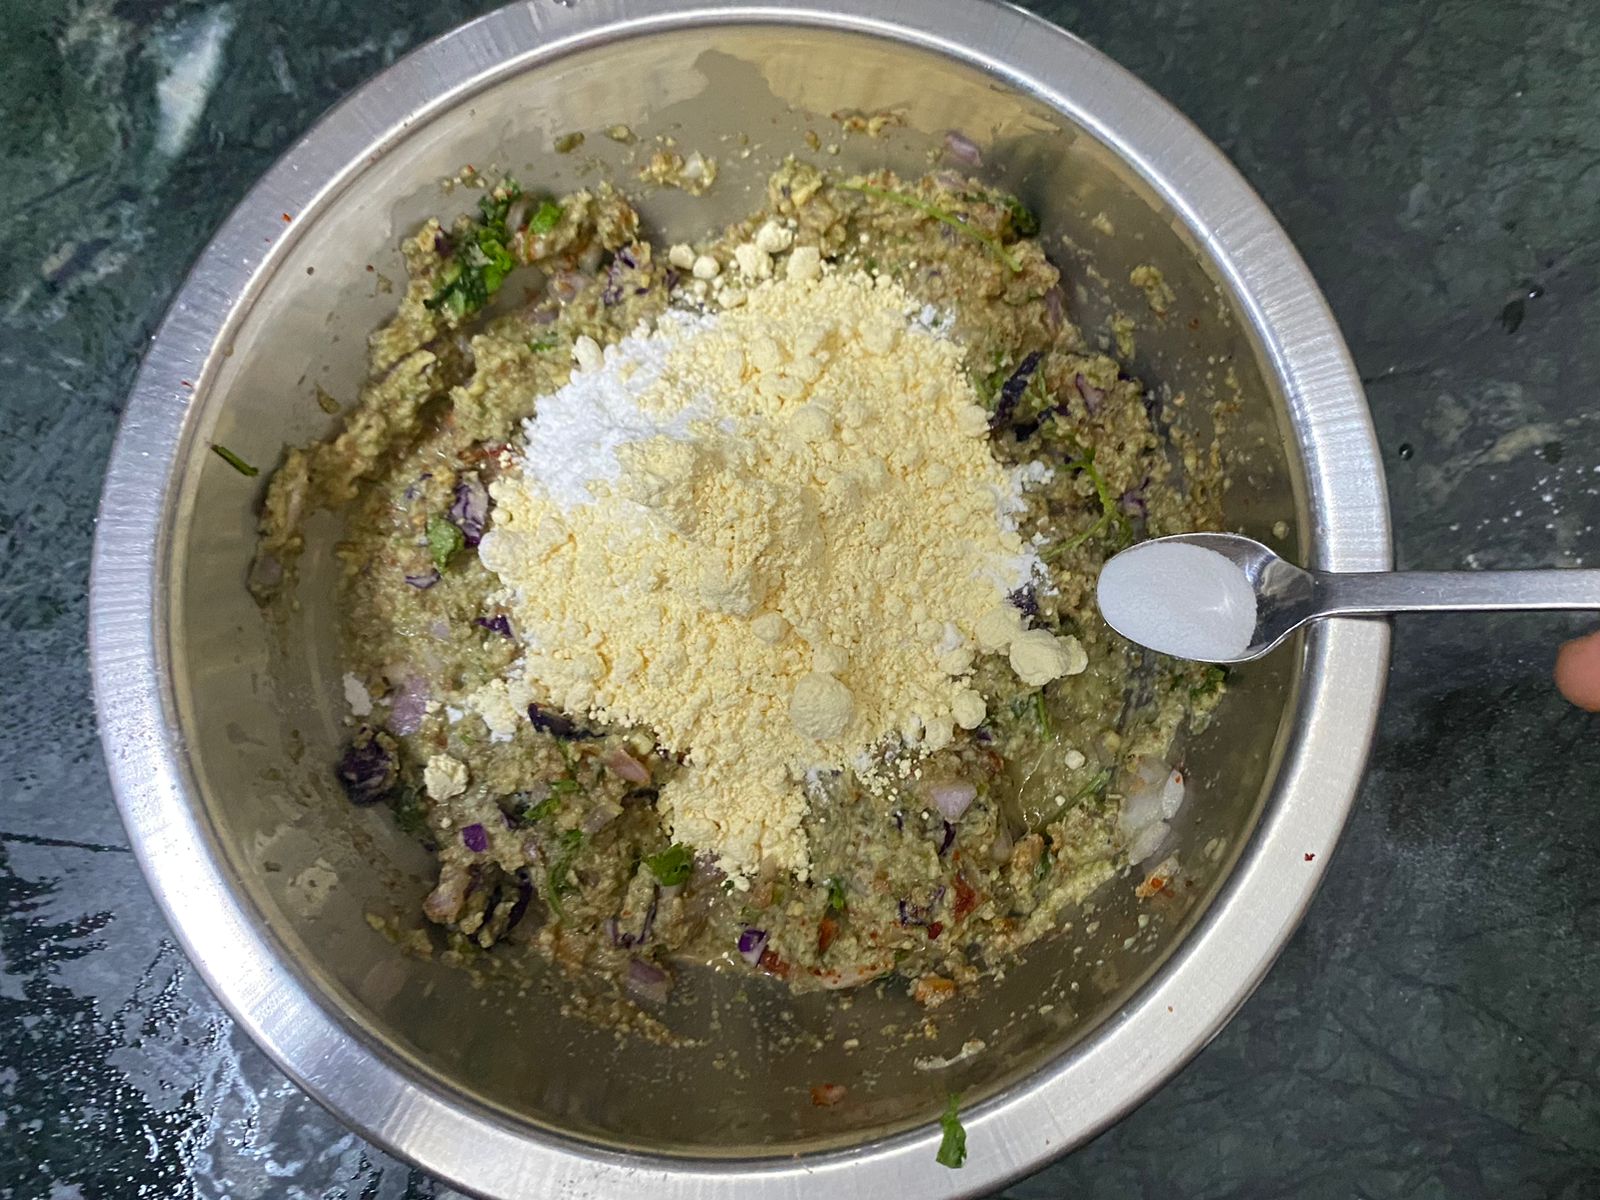
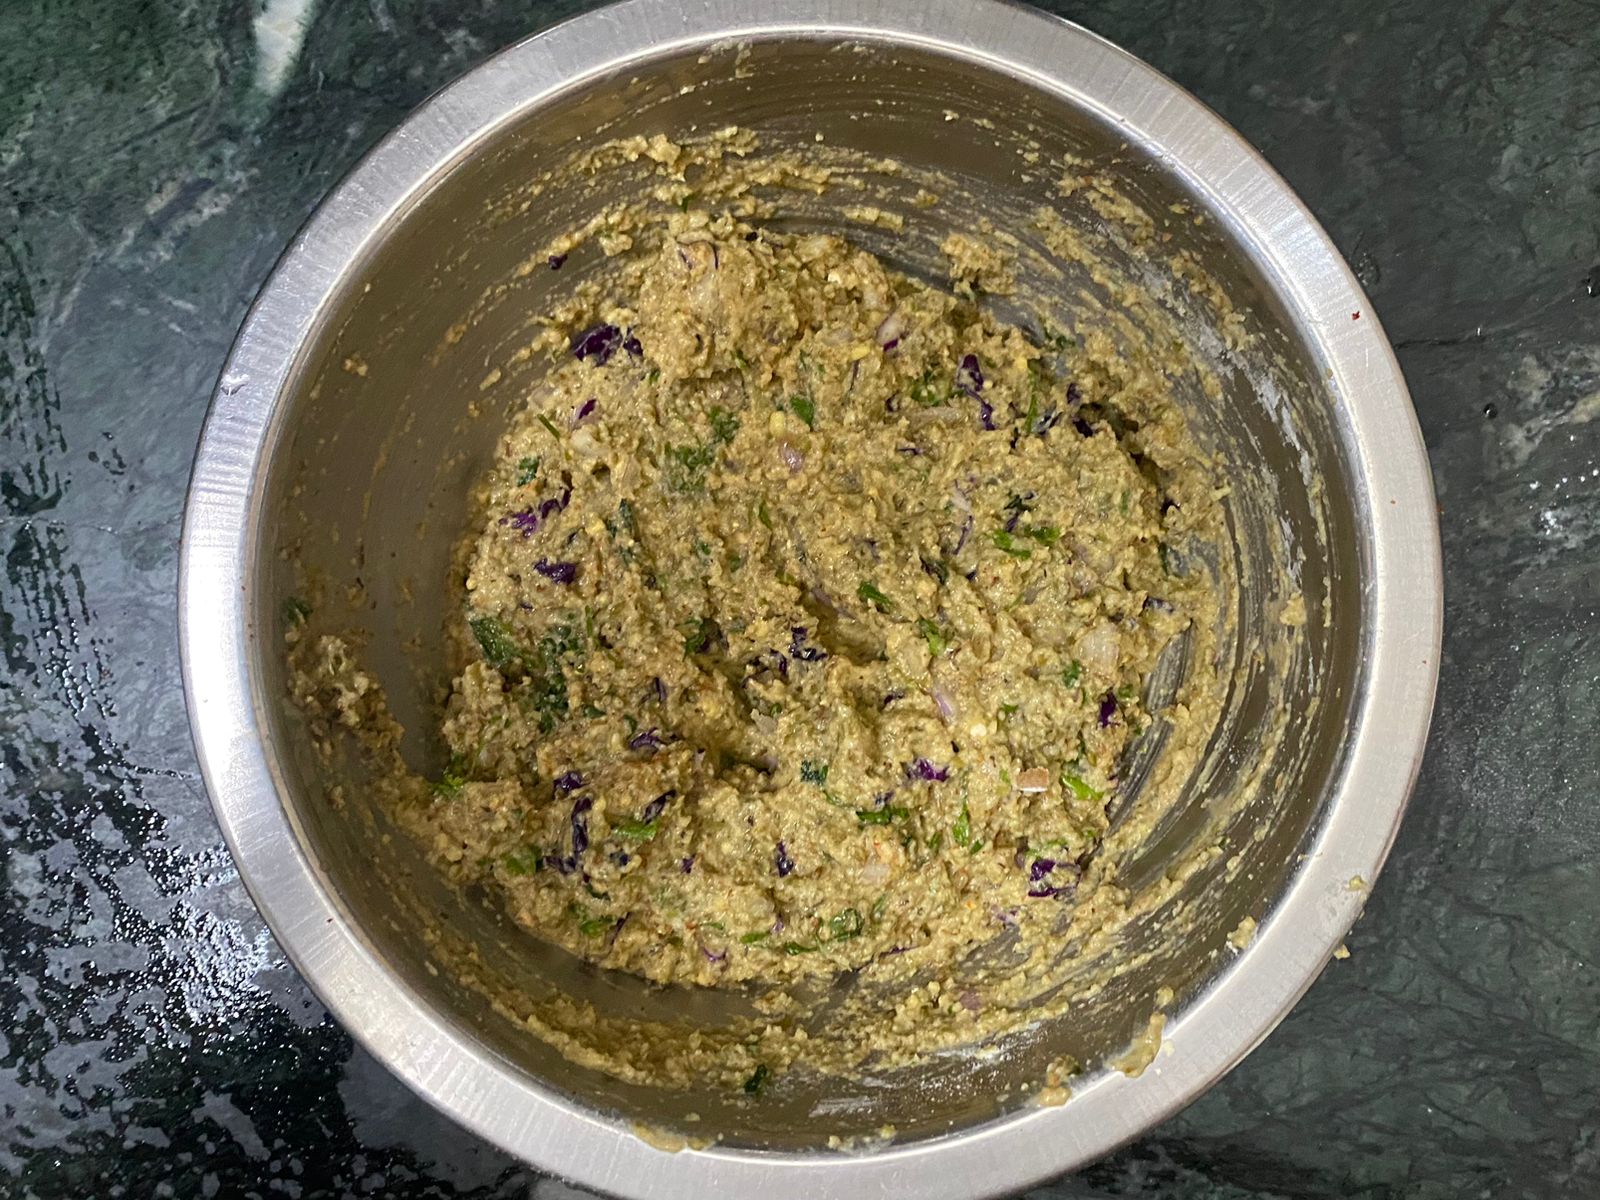
Transfer the batter into a bowl and add red cabbage, onions, salt, red chili powder, coriander leaves, rice flour, gram flour, and baking soda. Thoroughly mix and stir the ingredients vigorously until the batter achieves a light and fluffy consistency. If the batter is too thick, gradually add water as needed.

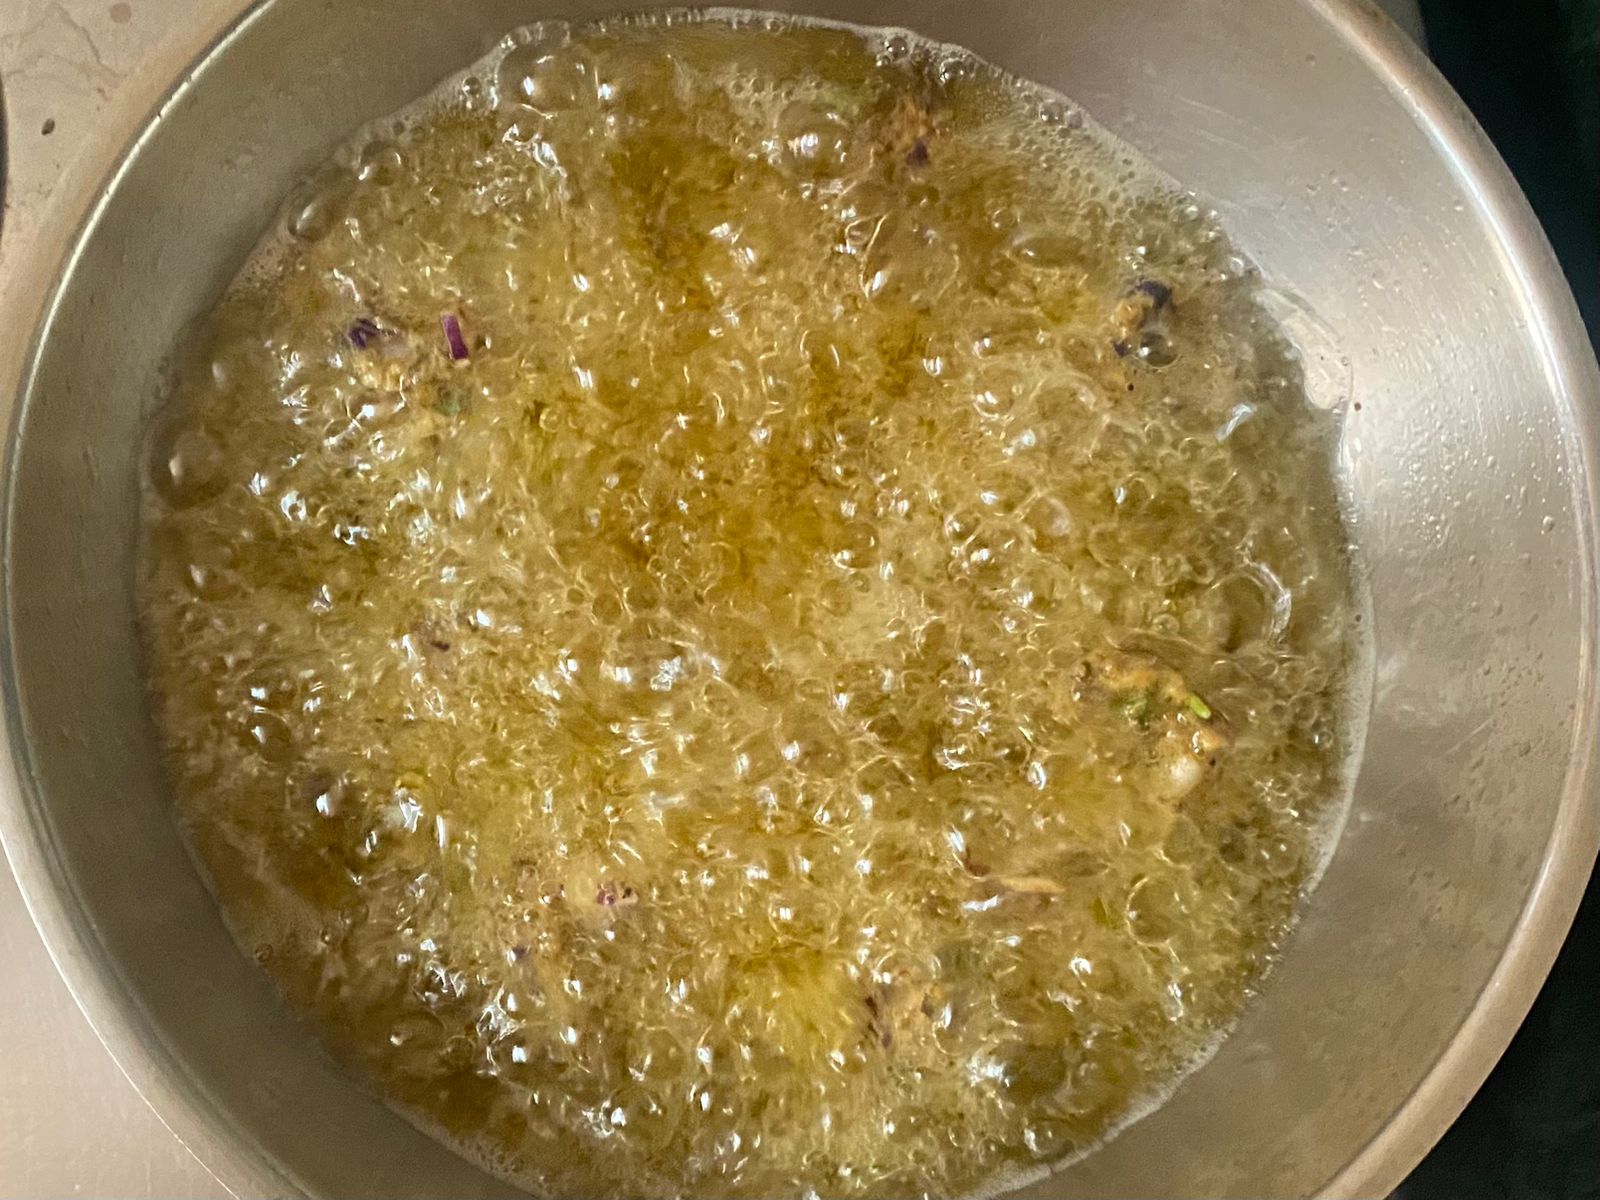
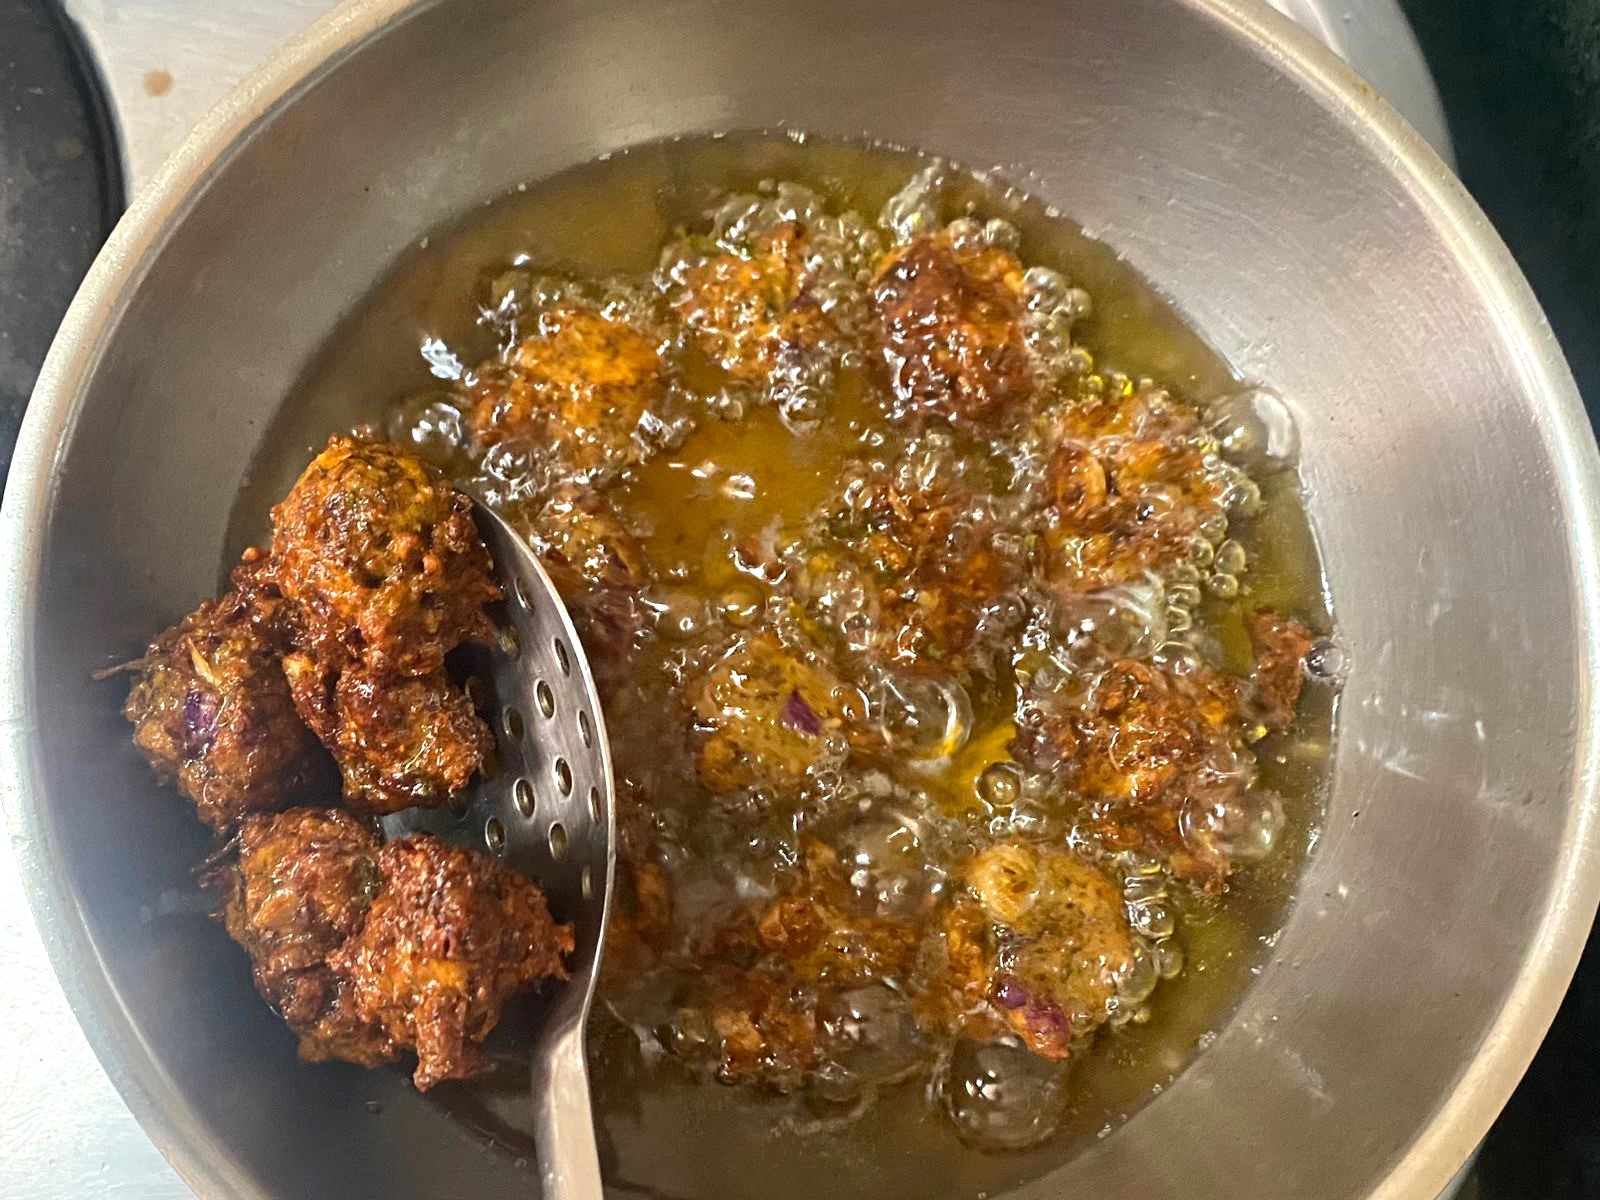

Heat oil in a pan for frying. To check if the oil is hot enough to start frying, add a pinch of batter to the oil, and if it bubbles up immediately, then the oil is ready for frying.
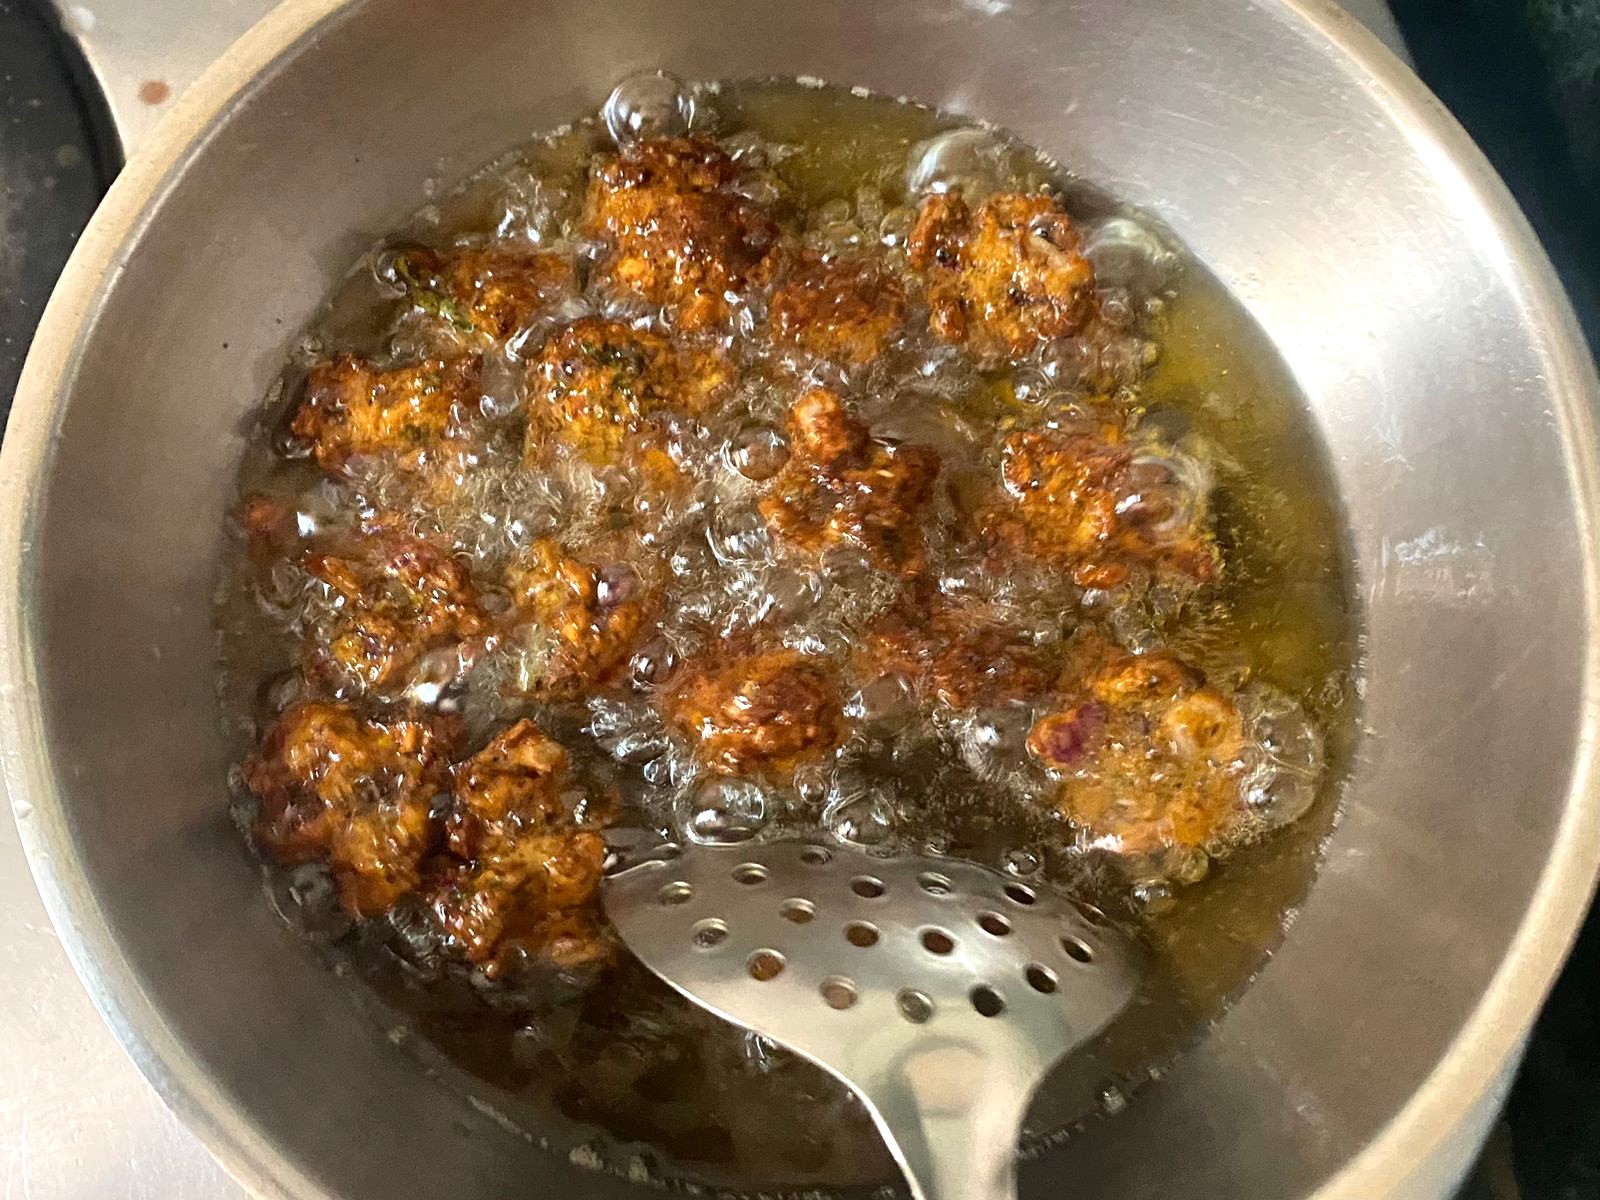
Take a spoonful of the batter and gently slide the dal vada into the oil. Flip them once and turn the heat to medium. Fry them until they become crispy and golden brown on all sides. Use a slotted spoon to remove them from the oil.
Drain them on a kitchen roll or absorbent paper to soak excess oil.
Serve the dal vada warm.